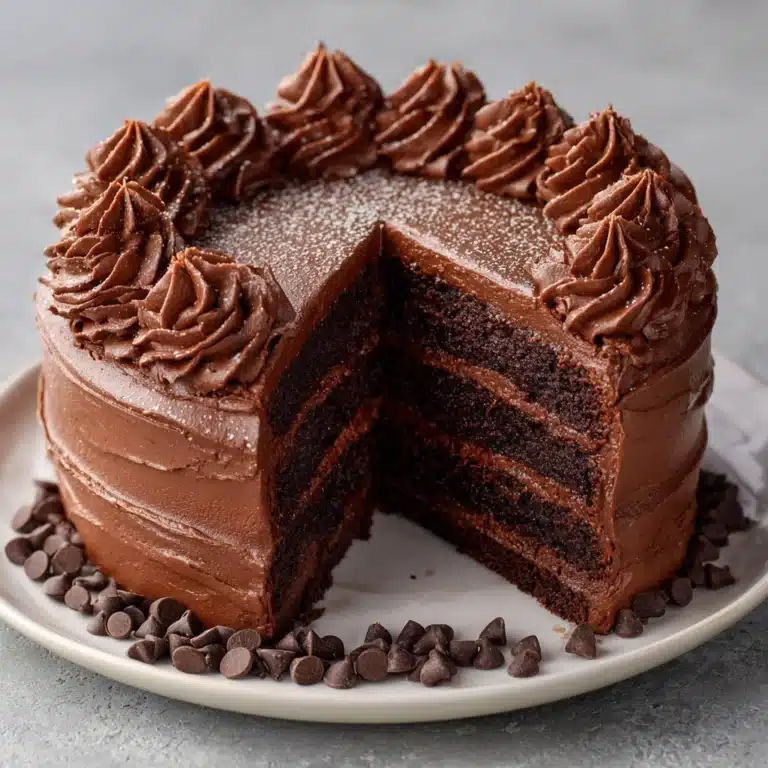
Stamped Halloween Cupcakes Recipe
Get ready to wow every ghost, goblin, and princess at your Halloween party with Stamped Halloween Cupcakes! These spirited little treats feature a moist chocolate base crowned with luscious buttercream or cream cheese frosting, and their pièce de résistance is a spookily stamped design made with Halloween-themed cookie stamps. This recipe is not only foolproof and fun but also ideal for making unforgettable memories—because nothing brings a smile like a cupcake dressed up in its spooky best!

Ingredients You’ll Need
The ingredient list for Stamped Halloween Cupcakes is surprisingly simple, yet each one plays a crucial role in making these cupcakes irresistibly rich, fluffy, and vibrant. From the cocoa’s bold flavor to the buttermilk’s unbeatable tenderness, every choice enhances the final festive bite.
- All-purpose flour: The sturdy backbone for a perfectly structured cupcake with just the right crumb.
- Unsweetened cocoa powder: Delivers deep chocolatey flavor and dramatic color for striking Halloween contrast.
- Baking soda: Ensures your cupcakes rise to pillowy, soft heights.
- Salt: Balances the sweetness and heightens chocolate richness.
- Granulated sugar: Sweetens without overpowering so the cocoa stays in the spotlight.
- Packed brown sugar: Adds a touch of molasses flavor and extra moistness.
- Vegetable oil: Keeps your cupcakes tender and soft even days after baking.
- Large eggs: Bind everything together for a plush, rich crumb.
- Vanilla extract: Brings warm, aromatic undertones that make every flavor pop.
- Buttermilk: Ensures extra moisture and a light tang for depth of flavor.
- Hot water: Unlocks the full flavor potential of cocoa powder for maximum chocolate intensity.
- Halloween-themed stamps or cookie stamps: The secret weapon for that magical, stamped look—freeze briefly for best results!
- Orange and black food coloring (optional): Vibrant, spooky colors that instantly say “Halloween!”
- Buttercream or cream cheese frosting: The creamy canvas for your adorable Halloween designs.
- Sprinkles or decorative sugar for topping: Add crunch, sparkle, and extra festivity to every cupcake.
How to Make Stamped Halloween Cupcakes
Step 1: Prep Your Oven and Tins
Start by preheating your oven to 350°F. This simple step ensures an even bake. Then, line a 12-cup muffin tin with your favorite festive cupcake liners—black cats or bright orange pumpkins set the mood instantly!
Step 2: Mix Dry Ingredients
In a medium bowl, whisk together flour, cocoa powder, baking soda, and salt. This guarantees even distribution, so every bite of your Stamped Halloween Cupcakes is perfectly balanced and delicious.
Step 3: Combine Sugars, Oil, Eggs, and Vanilla
In a large bowl, whisk granulated sugar, brown sugar, and vegetable oil until smooth. Add the eggs and vanilla, mixing until completely blended. This creates a silky, luscious base, setting you up for a rich, tender crumb.
Step 4: Add Buttermilk and Dry Mixture
Gently mix in the buttermilk until smooth. Gradually fold in your dry ingredients—don’t overmix, just combine until no streaks remain. This keeps your cupcakes light and fluffy, not dense.
Step 5: Stir in Hot Water
Carefully stir in the hot water—this magical touch intensifies the chocolate, creating a glossy, pourable batter. Don’t worry if it looks thin; it will bake up perfectly in the oven.
Step 6: Bake
Divide the batter evenly among the liners, filling each about two-thirds full. Bake for 18–20 minutes, or until a toothpick inserted into the center comes out clean. Let your cupcakes cool in the tin for a few minutes, then transfer to a wire rack to cool completely—perfect stamping requires a cool surface!
Step 7: Frosting and Coloring
Prepare your frosting of choice. If you’re feeling festive, divide it and tint portions orange and black with gel food coloring for vibrant, Halloween-ready swirls.
Step 8: Stamping the Cupcakes
Once cooled, generously frost each cupcake, smoothing the tops. Briefly chill your cookie stamps in the freezer, then gently press each one onto the frosted cupcakes for a crisp, clear stamped effect. Each Stamped Halloween Cupcake will now have its own eerie personality!
Step 9: Finish with Sprinkles
Add a finishing touch with spooky sprinkles, colored sugar, or edible glitter. Every detail counts when creating a hauntingly perfect batch of Stamped Halloween Cupcakes!
How to Serve Stamped Halloween Cupcakes

Garnishes
Let your creativity shine! Top with edible candy eyes, mini chocolate chips, or a dusting of edible shimmer powder. A drizzle of black or orange icing can highlight the stamped pattern, bringing out the festive details of each cupcake.
Side Dishes
Serve these cupcakes alongside bowls of candy corn, homemade caramel popcorn, or a pitcher of spiced apple cider. These pairings amplify the Halloween spirit and make your dessert table irresistibly inviting.
Creative Ways to Present
Showcase your Stamped Halloween Cupcakes on a black cake stand, nestled among mini pumpkins and autumn leaves. Or, arrange them in treat boxes as party favors—tuck in a spooky napkin for extra flair. For a magical vibe, surround each cupcake with a foggy swirl of dry ice (handled safely, of course) at your Halloween bash.
Make Ahead and Storage
Storing Leftovers
Store leftover Stamped Halloween Cupcakes in an airtight container at room temperature for up to two days. If your frosting is cream cheese based, refrigerate them instead to keep everything fresh and food-safe.
Freezing
If you want to get ahead, the unfrosted cupcakes freeze beautifully! Wrap each one tightly in plastic wrap and store in a zip-top bag for up to two months. Thaw at room temperature before frosting and stamping for best results.
Reheating
Cupcakes are best enjoyed at room temperature, but if you want to soften them a bit, let them sit out for 20–30 minutes. Avoid microwaving frosted cupcakes, as the frosting can melt and lose its lovely texture. Instead, only warm unfrosted cupcakes for a few seconds to refresh them.
FAQs
Can I use store-bought frosting for Stamped Halloween Cupcakes?
Absolutely! If you’re tight on time or just want an easier route, ready-made frosting works wonderfully. Just keep it thick enough so your stamp will leave a clear impression.
What’s the best way to clean cookie stamps between cupcakes?
Gently wipe the stamp with a damp paper towel between uses. If your frosting is especially sticky, keep a small bowl of warm water nearby to rinse and dry the stamp as you go.
Can I make these without food coloring?
Definitely. The chocolate cupcakes and white frosting are striking on their own! The food coloring simply adds an extra pop of Halloween color but is entirely optional.
What type Dessert
Use food-safe, silicone or plastic cookie stamps with bold, simple designs for best results. Avoid stamps with lots of tiny details, as they might not show up clearly in soft frosting.
Can kids help with stamping and decorating?
Yes! Stamped Halloween Cupcakes are a fantastic project for little hands. Just supervise the stamping step and let them go wild with sprinkles and decorations for a fun, family-friendly activity.
Final Thoughts
I can’t wait for you to bring these Stamped Halloween Cupcakes into your Halloween tradition. They’re the ultimate combination of delicious and delightful, and there’s nothing like seeing everyone light up at their spooky designs. Whip up a batch and watch these cupcakes steal the show at your next hauntingly fun gathering!
Print
Stamped Halloween Cupcakes Recipe
- Total Time: 40 minutes
- Yield: 12 cupcakes 1x
- Diet: Vegetarian
Description
These Stamped Halloween Cupcakes are a fun and festive treat for the spooky season. Rich chocolate cupcakes topped with creamy frosting and stamped designs, perfect for Halloween parties or gatherings.
Ingredients
Cupcakes:
- 1 1/2 cups all-purpose flour
- 1/2 cup unsweetened cocoa powder
- 1 teaspoon baking soda
- 1/2 teaspoon salt
- 1 cup granulated sugar
- 1/2 cup packed brown sugar
- 1/2 cup vegetable oil
- 2 large eggs
- 1 teaspoon vanilla extract
- 3/4 cup buttermilk
- 1/2 cup hot water
Additional:
- Halloween-themed stamps or cookie stamps
- Orange and black food coloring (optional)
- 1 batch buttercream or cream cheese frosting
- Sprinkles or decorative sugar for topping
Instructions
- Preheat the oven: Preheat oven to 350°F and line a 12-cup muffin tin with cupcake liners.
- Prepare the batter: In a medium bowl, whisk together flour, cocoa powder, baking soda, and salt. In a large bowl, mix granulated sugar, brown sugar, and vegetable oil. Add eggs, vanilla, and buttermilk. Gradually add dry ingredients, then stir in hot water.
- Bake: Divide batter among liners and bake for 18–20 minutes. Let cool.
- Decorate: Frost the cupcakes and use stamps to create patterns. Add sprinkles if desired.
Notes
- Chill stamps briefly in the freezer before stamping for a cleaner impression.
- Gel food coloring works best for vibrant Halloween hues.
- You can also use edible ink or food-safe paint pens to enhance the stamped designs.
- Prep Time: 20 minutes
- Cook Time: 20 minutes
- Category: Dessert
- Method: Baking
- Cuisine: American
Nutrition
- Serving Size: 1 cupcake
- Calories: 320
- Sugar: 28g
- Sodium: 210mg
- Fat: 16g
- Saturated Fat: 4g
- Unsaturated Fat: 10g
- Trans Fat: 0g
- Carbohydrates: 42g
- Fiber: 2g
- Protein: 3g
- Cholesterol: 35mg