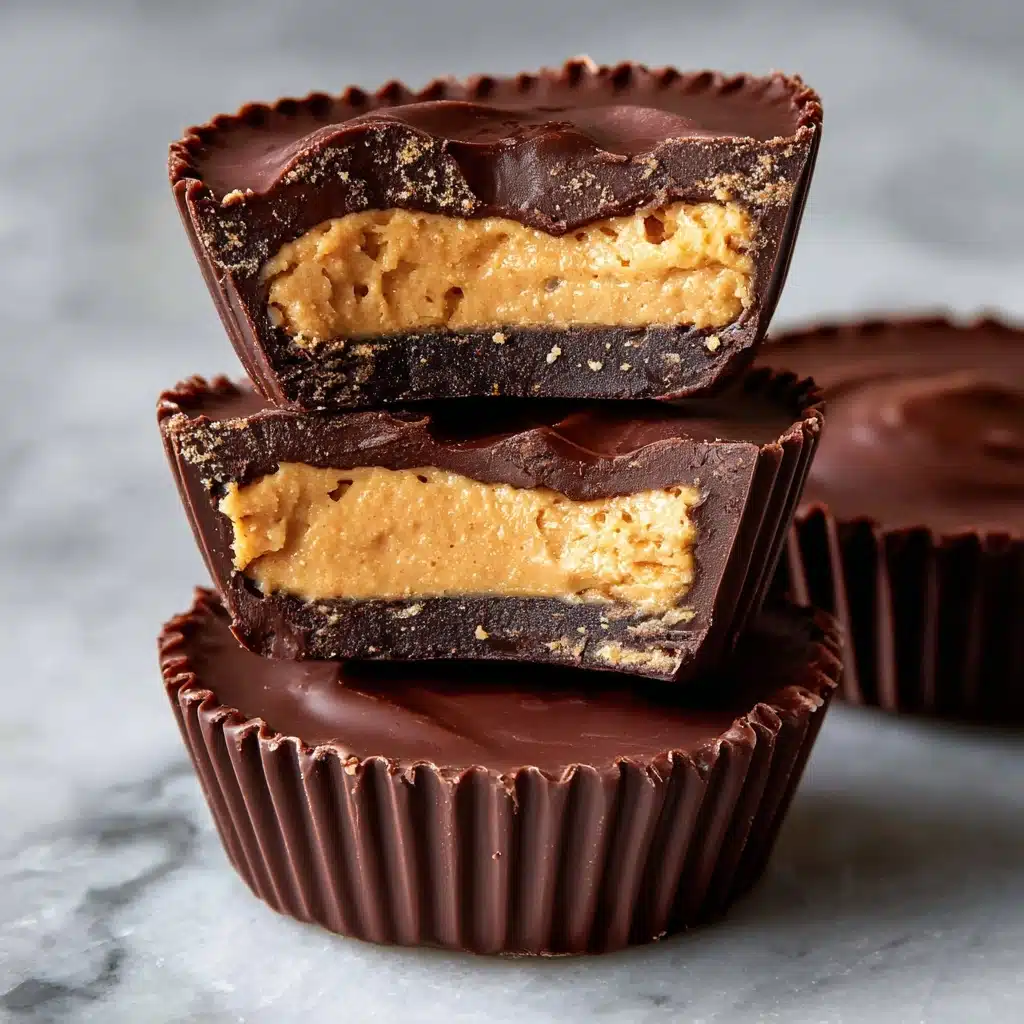
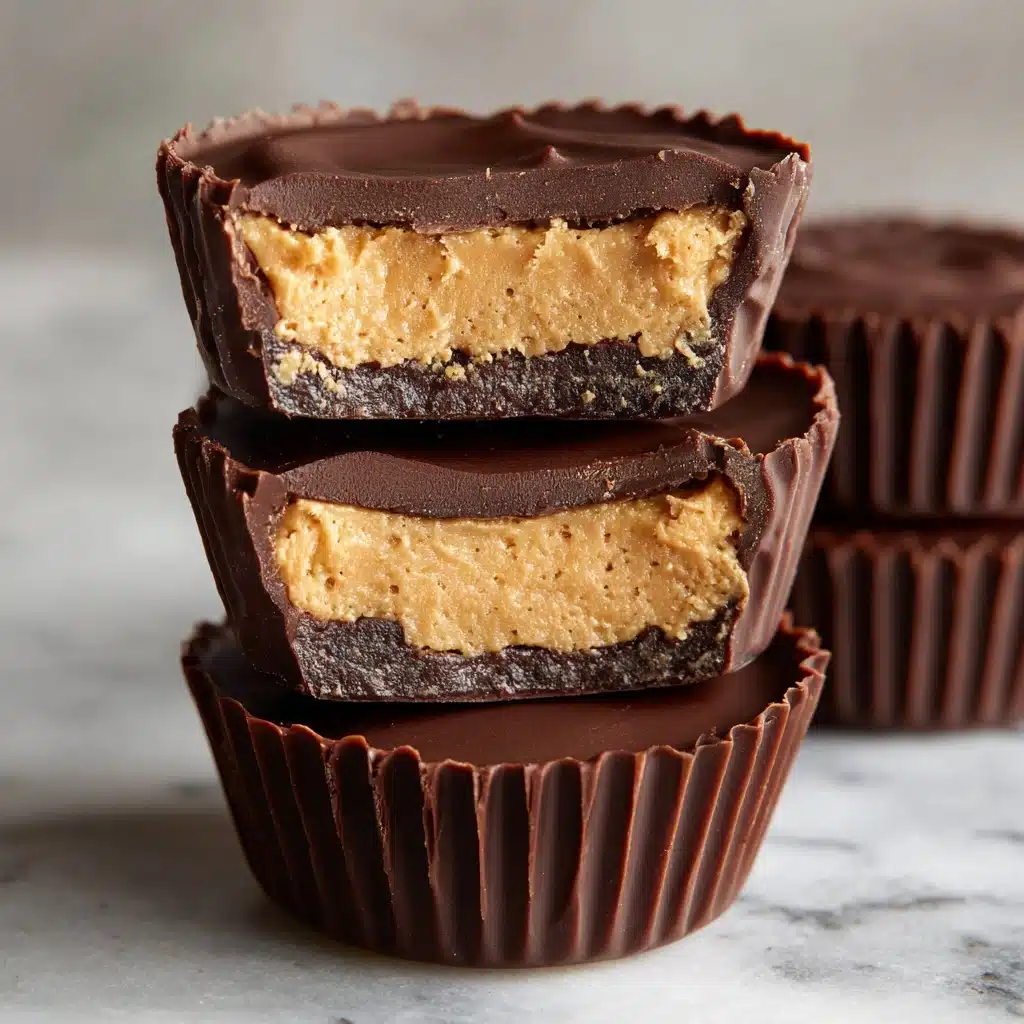
Protein Peanut Butter Cups Recipe
If you’re looking for a snack that’s equal parts nostalgic treat and protein-packed powerhouse, these Protein Peanut Butter Cups are about to become your new obsession. Imagine the classic chocolate-peanut butter combo you crave, but with a little extra staying power from your favorite protein powder. They’re delightfully rich, satisfyingly chewy, and just sweet enough to crush those dessert cravings, all while giving you a gentle boost of nutrition. Whether you need a post-workout reward or a mid-afternoon pick-me-up, these homemade cups are pure magic in every bite—no baking required!
Ingredients You’ll Need
These Protein Peanut Butter Cups come together with just a handful of ingredients, each playing an essential role in creating that perfect bite. Every component brings something special, from texture to flavor to that all-important chocolatey shell.
- Natural Peanut Butter: Creamy or crunchy, this gives the filling its signature nutty taste and smooth texture.
- Protein Powder (Vanilla or Chocolate): Adds a subtle flavor twist and a sneaky dose of protein; choose your favorite!
- Maple Syrup or Honey: Brings natural sweetness and helps bind the filling together.
- Coconut Flour (optional): Helps thicken the filling for a doughier texture, especially if your peanut butter is runny.
- Dark Chocolate Chips: The decadent exterior; use dairy-free if needed for a vegan treat.
- Coconut Oil: Makes the melted chocolate extra glossy and easy to pour.
- Sea Salt (optional): Just a pinch on top makes the flavors absolutely pop!
How to Make Protein Peanut Butter Cups
Step 1: Prep Your Muffin Tin
Start by lining a mini muffin tin with paper liners. This not only keeps the cups from sticking but also makes them easy to pop out when they’re set. If you don’t have a mini muffin tin, regular muffin tins will work for larger cups—just increase your amounts per cup accordingly.
Step 2: Mix Up the Protein Peanut Butter Filling
In a medium bowl, stir together your peanut butter, protein powder, maple syrup or honey, and coconut flour (if using). You’re looking for a thick, dough-like texture that you can easily shape with your hands. If it’s too sticky, add a touch more coconut flour; if it’s too dry, a drizzle of maple syrup or a splash of milk will bring it back together.
Step 3: Melt the Chocolate
In a microwave-safe bowl, combine the dark chocolate chips and coconut oil. Microwave in 30-second bursts, stirring after each, until the chocolate is velvety-smooth and shiny. This step is where the magic (and the mouthwatering aroma) really happens!
Step 4: Create the Chocolate Base
Spoon about a teaspoon of melted chocolate into the bottom of each muffin liner. Use the spoon or gently tilt the tin to coat the sides just a bit—this helps create a sturdy chocolate shell. Pop the tray in the freezer for 10 minutes so the chocolate can set and hold that classic cup shape.
Step 5: Add the Protein Peanut Butter Filling
Once your chocolate bases are firm, roll about a teaspoon of the peanut butter mixture into a small disc and gently press it onto the chocolate layer in each cup. Try to keep the filling centered so the chocolate can seal around it later.
Step 6: Seal with More Chocolate and Chill
Spoon another layer of melted chocolate over each peanut butter disc, covering the filling completely. If you’re feeling fancy, add a sprinkle of sea salt on top for that gourmet touch. Place the tray back in the freezer for another 10 to 15 minutes, until the Protein Peanut Butter Cups are fully set and ready to devour.
How to Serve Protein Peanut Butter Cups
Garnishes
For a pretty finishing touch, sprinkle a pinch of flaky sea salt on top of each cup before the chocolate sets. You can also drizzle a little melted peanut butter or white chocolate for a bakery-worthy look, or toss on some crushed peanuts for extra crunch.
Side Dishes
While these cups are perfectly satisfying on their own, you can pair them with a fresh fruit salad or a cold glass of almond milk for a balanced snack. They’re also a fab addition to a dessert board with strawberries, banana slices, and pretzels for dipping.
Creative Ways to Present
Arrange your Protein Peanut Butter Cups in mini cupcake liners on a pretty platter for parties, or package them in cellophane bags tied with ribbon for thoughtful homemade gifts. Stack them in a jar for a fun “grab-and-go” treat, or layer them in a lunchbox for a surprise pick-me-up.
Make Ahead and Storage
Storing Leftovers
Keep your Protein Peanut Butter Cups fresh by storing them in an airtight container in the fridge. They’ll stay delicious for up to a week, making them a great make-ahead snack for busy days.
Freezing
These cups freeze beautifully! Arrange them in a single layer in a freezer-safe container, separating layers with parchment paper. When the craving strikes, just let one sit at room temperature for a few minutes before enjoying—no need to thaw for long.
Reheating
No reheating is needed for these no-bake treats. If you prefer a softer texture, leave a cup out at room temperature for 5 to 10 minutes before eating. Otherwise, enjoy them straight from the fridge or freezer for a satisfying, snappy bite.
FAQs
Can I use a different nut or seed butter instead of peanut butter?
Absolutely! Almond butter or sunflower seed butter are fantastic alternatives and work just as well in this recipe, making your Protein Peanut Butter Cups allergy-friendly or just tailored to your taste.
Which type Snack
You can use either vanilla or chocolate protein powder, depending on your flavor preference. Both plant-based and whey protein powders work here—just choose one you enjoy, as its flavor will shine through in the filling.
What if I don’t have coconut flour?
No worries! Coconut flour is just for thickening. If your filling is already thick enough, you can skip it, or substitute with a small amount of oat flour or almond flour if you need a little more structure.
Are these Protein Peanut Butter Cups vegan?
They can be! Just use dairy-free chocolate chips and maple syrup instead of honey, and make sure your protein powder is plant-based. The result is a delicious vegan-friendly treat everyone will love.
How long do these keep in the fridge or freezer?
In the fridge, they’ll stay fresh for up to a week. In the freezer, you can store them for up to three months—just be sure to keep them in an airtight container to prevent freezer burn.
Final Thoughts
Give these Protein Peanut Butter Cups a try and you’ll see why they’re such a hit in my kitchen. They’re easy, delicious, and endlessly customizable—a perfect treat for anyone who loves chocolate and peanut butter with a healthy twist. Don’t be surprised if you start making them on repeat!
Print
Protein Peanut Butter Cups Recipe
- Total Time: 30 minutes (including chilling)
- Yield: 12 mini cups 1x
- Diet: Vegetarian
Description
Delicious and healthy Protein Peanut Butter Cups made with natural peanut butter, protein powder, and rich dark chocolate. These no-bake snacks are perfect for a high-protein treat that’s easy to prepare and customizable with your favorite protein powder flavors.
Ingredients
Peanut Butter Protein Layer
- 1 cup natural peanut butter (smooth or crunchy)
- 1/4 cup protein powder (vanilla or chocolate)
- 2 tablespoons maple syrup or honey
- 1 tablespoon coconut flour (optional, for thickening)
Chocolate Coating
- 1 1/2 cups dark chocolate chips (dairy-free if needed)
- 1 tablespoon coconut oil
- Pinch of sea salt (optional)
Instructions
- Prepare the muffin tin: Line a mini muffin tin with paper liners to keep the peanut butter cups contained and easy to remove once set.
- Make the peanut butter protein mixture: In a medium bowl, mix together the natural peanut butter, protein powder, maple syrup, and coconut flour (if using) until a thick, dough-like consistency forms. Set aside to use as the filling.
- Melt the chocolate: In a microwave-safe bowl, combine the dark chocolate chips and coconut oil. Microwave in 30-second intervals, stirring well each time until the chocolate is fully melted and smooth.
- Create the chocolate base layer: Spoon approximately 1 teaspoon of the melted chocolate into the bottom of each lined mini muffin cup. Tilt each cup to allow the chocolate to coat the bottom and sides slightly. This forms the base layer.
- Freeze to set base: Place the muffin tin in the freezer for 10 minutes to allow the chocolate base layer to harden.
- Shape and add the filling: Once the base is firm, roll about 1 teaspoon of the peanut butter protein mixture into a small disc. Place the disc on top of the chocolate base in each muffin cup.
- Cover with chocolate: Spoon more melted chocolate over the peanut butter discs, fully covering the filling to encase it in chocolate.
- Add finishing touch: Sprinkle a tiny pinch of sea salt on top of each cup if desired, to enhance the flavor balance.
- Chill completely: Return the muffin tin to the freezer for another 10–15 minutes, or until the peanut butter cups are fully set and solid.
- Store properly: Once set, transfer the peanut butter cups to the refrigerator or freezer for storage. Enjoy them chilled for the best texture and flavor.
Notes
- Use your favorite protein powder flavor to customize these cups according to your taste preferences.
- Almond butter or sunflower seed butter can be used as allergy-friendly alternatives to peanut butter.
- Prep Time: 15 minutes
- Cook Time: 0 minutes
- Category: Snack
- Method: No-Bake
- Cuisine: American
Nutrition
- Serving Size: 1 mini cup
- Calories: 160
- Sugar: 6g
- Sodium: 70mg
- Fat: 11g
- Saturated Fat: 4g
- Unsaturated Fat: 6g
- Trans Fat: 0g
- Carbohydrates: 10g
- Fiber: 2g
- Protein: 6g
- Cholesterol: 0mg