No Bake Summer Berry Icebox Cake Recipe
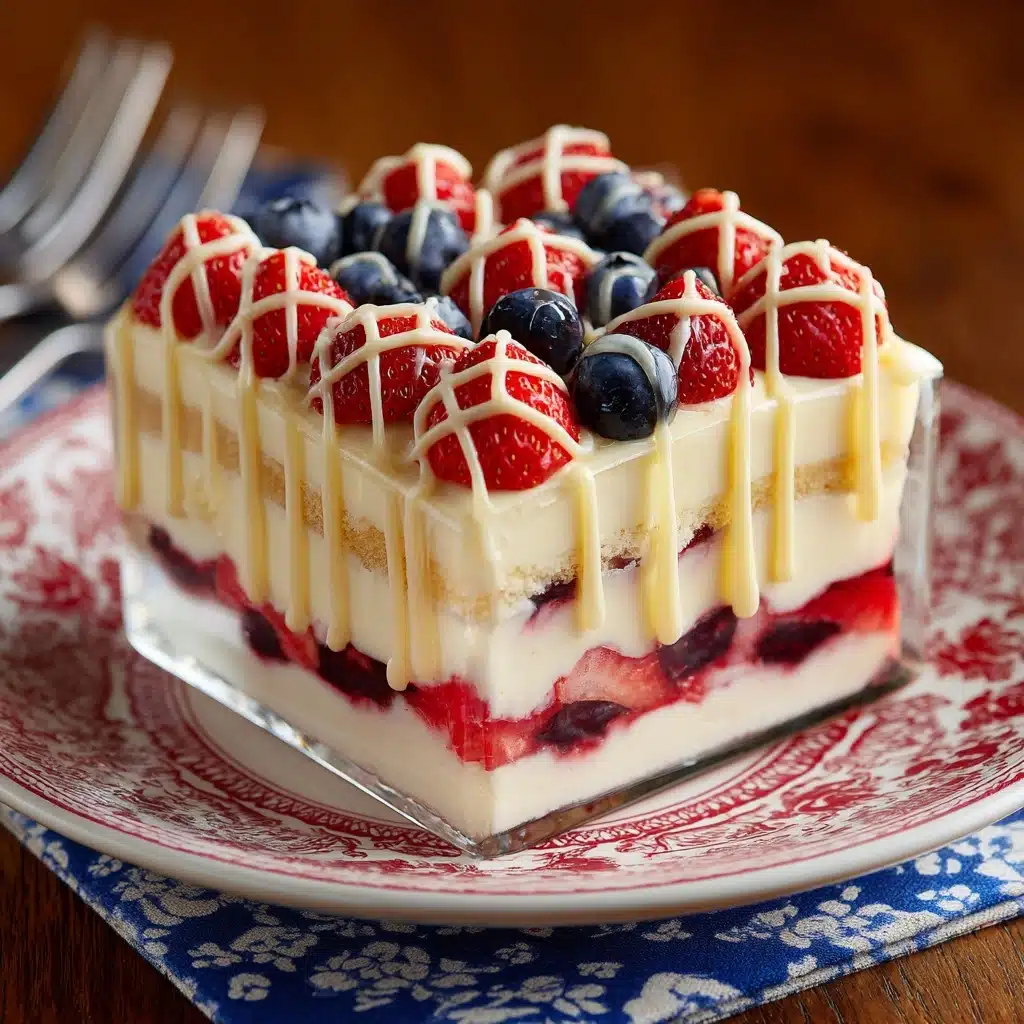
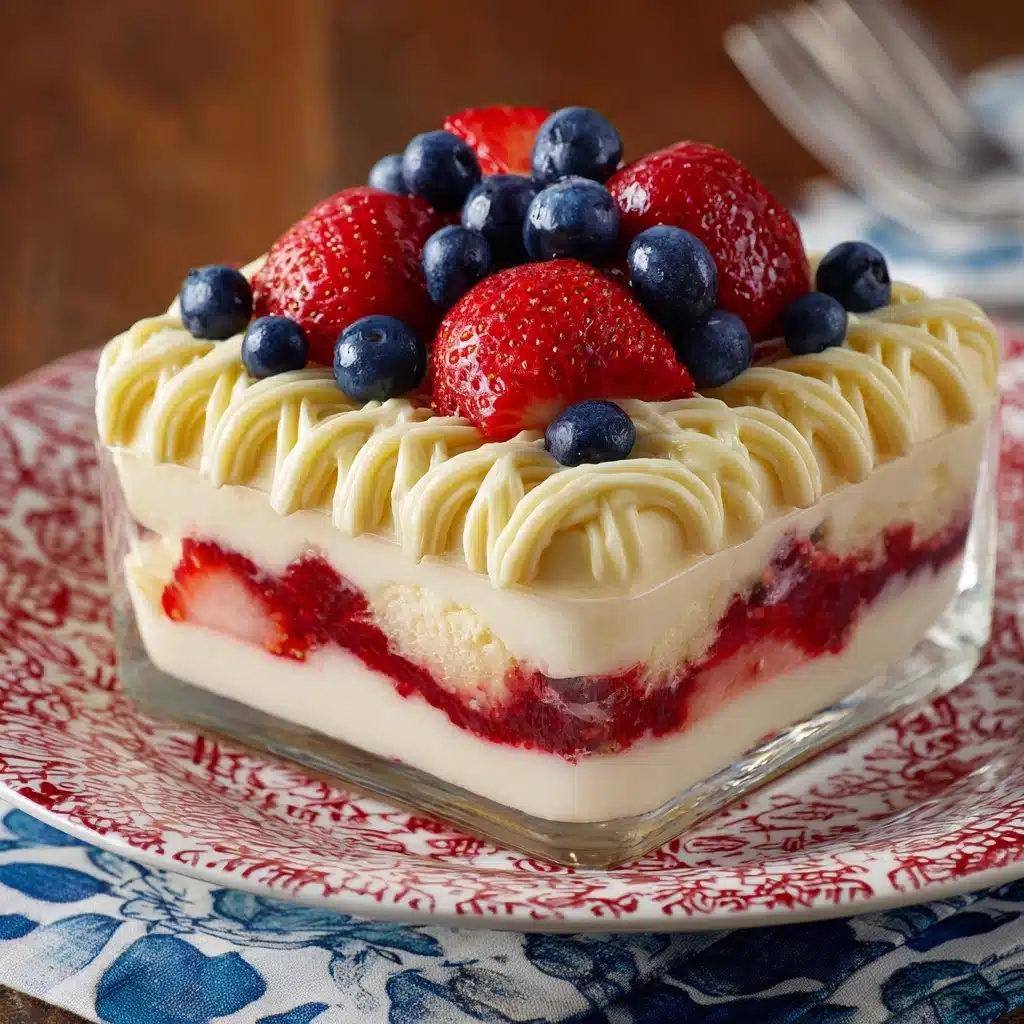
Sweet, creamy, and bursting with the brightest flavors of summer, the No Bake Summer Berry Icebox Cake is a joyous treat that’s just as delightful to assemble as it is to eat. With lush layers of pillowy whipped cream, tangy cream cheese, juicy berries, and tender graham crackers transforming into cake-like goodness in the fridge, this dessert is made for hot afternoons and family celebrations where turning on the oven simply isn’t an option. Its easy prep and stunning, colorful finish make it the ultimate showstopper that’s impossible to resist—trust me, everyone will want a second slice!
Ingredients You’ll Need
It’s amazing how a handful of simple ingredients come together to create such a crowd-pleasing masterpiece. Each one plays a key role in the flavor, texture, or irresistible look of the No Bake Summer Berry Icebox Cake, so gather up these essentials and get ready for magic!
- Heavy Whipping Cream (2 cups): This is the secret to a rich, airy filling that holds everything together and melds the flavors beautifully.
- Powdered Sugar (1/3 cup): Gently sweetens the whipped cream, ensuring silky smoothness and stability.
- Vanilla Extract (1 tsp): Adds a lush, classic flavor that brings out the best in the berries and cream.
- Cream Cheese, softened (8 oz): Makes the cream filling luxuriously tangy and decadent, providing just the right balance to all that sweetness.
- Granulated Sugar (1/4 cup): A little extra sweetness in the cream cheese mixture goes a long way to enhance flavor and texture.
- Graham Crackers (1 box, 14.4 oz): These become surprisingly cake-like when layered and chilled; break as needed to fit your dish snugly.
- Mixed Fresh Berries (2 cups, plus extra for garnish): Strawberries, blueberries, raspberries, and blackberries add color, juiciness, and that irresistible burst of berry flavor.
How to Make No Bake Summer Berry Icebox Cake
Step 1: Whip the Cream
Start by pouring the heavy whipping cream, powdered sugar, and vanilla extract into a large, chilled bowl. Beat on high speed until the mixture forms stiff peaks—fluffy, swoopy clouds that hold their shape. This whipped cream becomes the dreamy foundation of your No Bake Summer Berry Icebox Cake, giving it that light-as-air lift in every bite.
Step 2: Make the Cream Cheese Layer
In a separate bowl, beat the softened cream cheese with the granulated sugar until perfectly smooth with no lumps. This step brings that tangy depth and makes your filling extra luscious, and it’s the secret to a sturdy but silky end result.
Step 3: Combine the Fillings
Gently fold the whipped cream into the cream cheese mixture. Take your time and use a spatula to blend it just until combined; you want to keep all that lovely air whipped in, so your No Bake Summer Berry Icebox Cake stays cloud-like and soft when chilled.
Step 4: Layer the Base
Spread a thin layer of the cream mixture in the bottom of a 9×13-inch dish to anchor the graham crackers. Arrange graham crackers in a single, even layer over the cream, breaking pieces as needed to cover the base without gaps. This is the starting structure that gives the cake its signature, sliceable texture.
Step 5: Add Layers
Spread about a third of the cream mixture over the graham crackers, followed by a generous sprinkle of berries. Repeat this process two more times—graham crackers, cream, berries—ending with a top layer of cream and plenty of beautiful, fresh berries poking through for that wow factor.
Step 6: Chill to Perfection
Cover the dish tightly and refrigerate for at least 4 hours, or overnight if you have the patience! During this time, the graham crackers soften and absorb the flavors, transforming into a gorgeous, cake-like dessert that slices easily. This is what makes the No Bake Summer Berry Icebox Cake so magical.
How to Serve No Bake Summer Berry Icebox Cake
Garnishes
For an extra flourish, scatter more fresh berries over the top right before serving. If you’re feeling fancy, a drizzle of melted white chocolate or a sprinkle of lemon zest adds pops of flavor and a truly celebratory look to the No Bake Summer Berry Icebox Cake.
Side Dishes
This cake shines on its own, but pairs wonderfully with cold brew coffee, iced tea, or a glass of sparkling lemonade. For something more indulgent, offer a scoop of vanilla bean ice cream on the side to complement the cool creaminess of the dessert.
Creative Ways to Present
Layer the No Bake Summer Berry Icebox Cake in individual mason jars or parfait glasses for pretty, portable desserts at picnics and parties. Sprinkle with edible flowers or mint leaves for an extra touch of summer charm. If serving at a gathering, slice into perfect squares and arrange on a platter with more fresh berries scattered around.
Make Ahead and Storage
Storing Leftovers
Keep any remaining No Bake Summer Berry Icebox Cake covered in the refrigerator. It stays fresh for up to two days, though the texture is at its peak within 24–48 hours as the crackers may soften further with extended storage.
Freezing
If you find yourself with leftovers, you can freeze individual slices wrapped tightly in plastic wrap and then in foil. Thaw overnight in the fridge for best results. While the cream may lose a little of its texture after freezing, the flavor is still delightful!
Reheating
This dessert is best enjoyed chilled straight from the fridge—no reheating needed. In fact, letting it warm up too much may cause the cream layers to lose their structure, so serve cold for ultimate refreshment.
FAQs
Can I use frozen berries instead of fresh?
Yes, you can! Just make sure to thaw them completely and drain any excess juice before layering, or the cake might become too soggy. Fresh berries offer the best texture and visual appeal, but frozen are handy in a pinch.
What type Dessert
Classic honey graham crackers are preferred for their subtle sweetness and how perfectly they soften in the cream layers. Chocolate or cinnamon grahams make fun flavor twists—just be sure any variety is crisp and fresh!
Can I make this cake gluten-free?
Absolutely! Look for gluten-free graham crackers at your local store, and swap them in for a delicious gluten-free version of the No Bake Summer Berry Icebox Cake without compromising taste or structure.
Is there a dairy-free alternative?
You can experiment with coconut cream, dairy-free cream cheese, and plant-based whipped toppings. While the flavor and texture will be a bit different, it’s a tasty way to make this treat suitable for those who avoid dairy.
How far in advance can I prepare the dessert?
The No Bake Summer Berry Icebox Cake is an ideal make-ahead dessert! You can prep it the night before, allowing the flavors to meld perfectly. For best texture, serve within 24 hours of assembly, but it will still taste great up to two days later.
Final Thoughts
Delightfully easy, impossibly refreshing, and truly showstopping, the No Bake Summer Berry Icebox Cake will become a summer staple in your home just as it has in mine. Don’t hesitate—gather your freshest berries and favorite people, and let this cool, creamy creation be the centerpiece of your next warm-weather gathering!
Print
No Bake Summer Berry Icebox Cake Recipe
- Total Time: 4 hours 20 minutes (including chilling)
- Yield: 12 servings 1x
- Diet: Non-Vegetarian
Description
Indulge in the refreshing flavors of summer with this delightful No Bake Summer Berry Icebox Cake. Layers of creamy whipped filling, luscious fresh berries, and graham crackers create a perfect chilled dessert for those warm days.
Ingredients
Whipped Cream:
- 2 cups heavy whipping cream
- 1/3 cup powdered sugar
- 1 tsp vanilla extract
Cream Cheese Filling:
- 8 oz cream cheese, softened
- 1/4 cup granulated sugar
Additional:
- 1 (14.4 oz) box graham crackers
- 2 cups mixed fresh berries (strawberries, blueberries, raspberries, blackberries), plus extra for garnish
Instructions
- Whipped Cream: In a large bowl, beat heavy cream with powdered sugar and vanilla until stiff peaks form; set aside.
- Cream Cheese Filling: In another bowl, beat cream cheese with granulated sugar until smooth. Gently fold whipped cream into cream cheese mixture until combined.
- Assembly: Spread a thin layer of cream mixture in the bottom of a 9×13-inch dish. Top with a single layer of graham crackers, breaking as needed to fit. Spread 1/3 of the cream mixture over crackers, then top with 1/3 of the berries. Repeat layers twice more, ending with cream and berries on top. Cover and refrigerate for at least 4 hours or overnight to allow crackers to soften. Slice and serve chilled.
Notes
- For extra flavor, drizzle melted white chocolate over the top before serving or add lemon zest to the cream mixture.
- Best eaten within 2 days for optimal texture.
- Prep Time: 20 minutes
- Cook Time: 0 minutes
- Category: Dessert
- Method: No-Bake, Refrigerated
- Cuisine: American
Nutrition
- Serving Size: 1 slice
- Calories: 300
- Sugar: 18 g
- Sodium: 170 mg
- Fat: 20 g
- Saturated Fat: 12 g
- Unsaturated Fat: 6 g
- Trans Fat: 0 g
- Carbohydrates: 27 g
- Fiber: 2 g
- Protein: 4 g
- Cholesterol: 65 mg