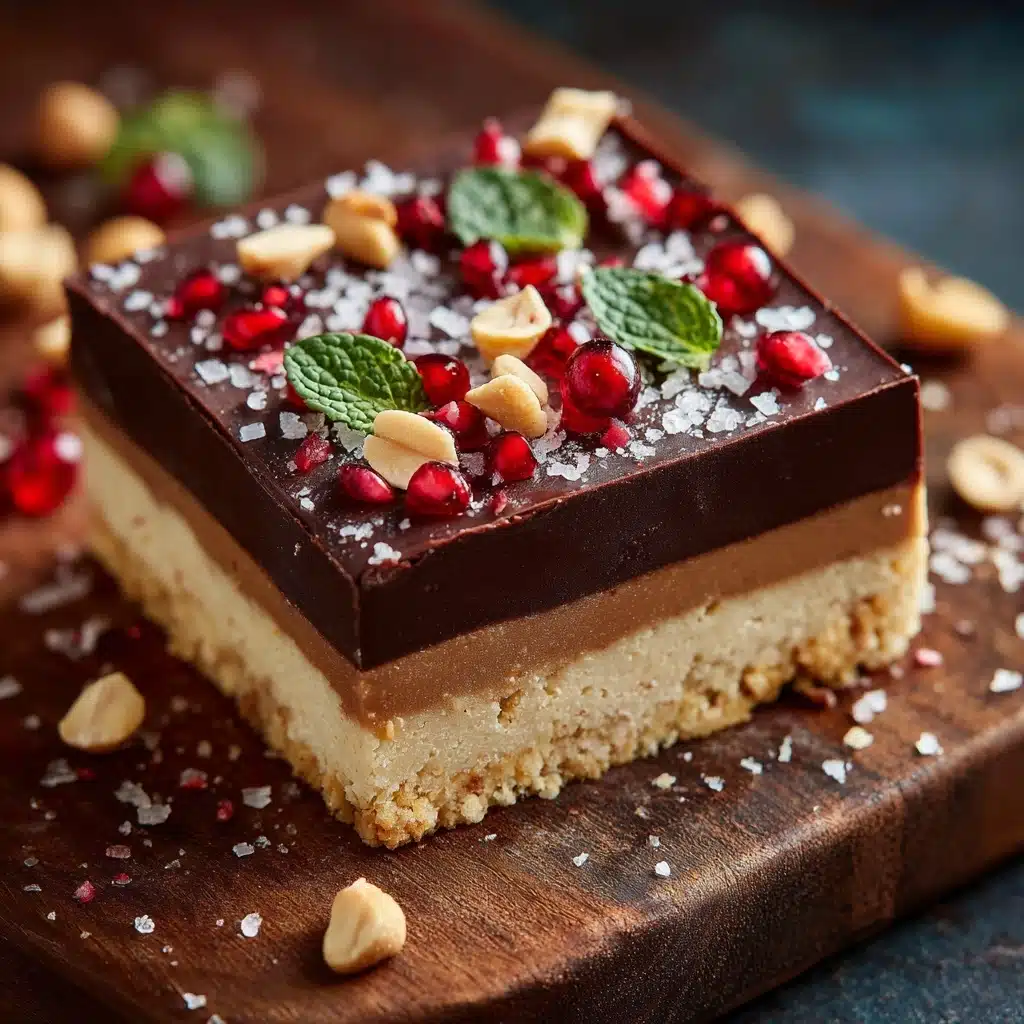
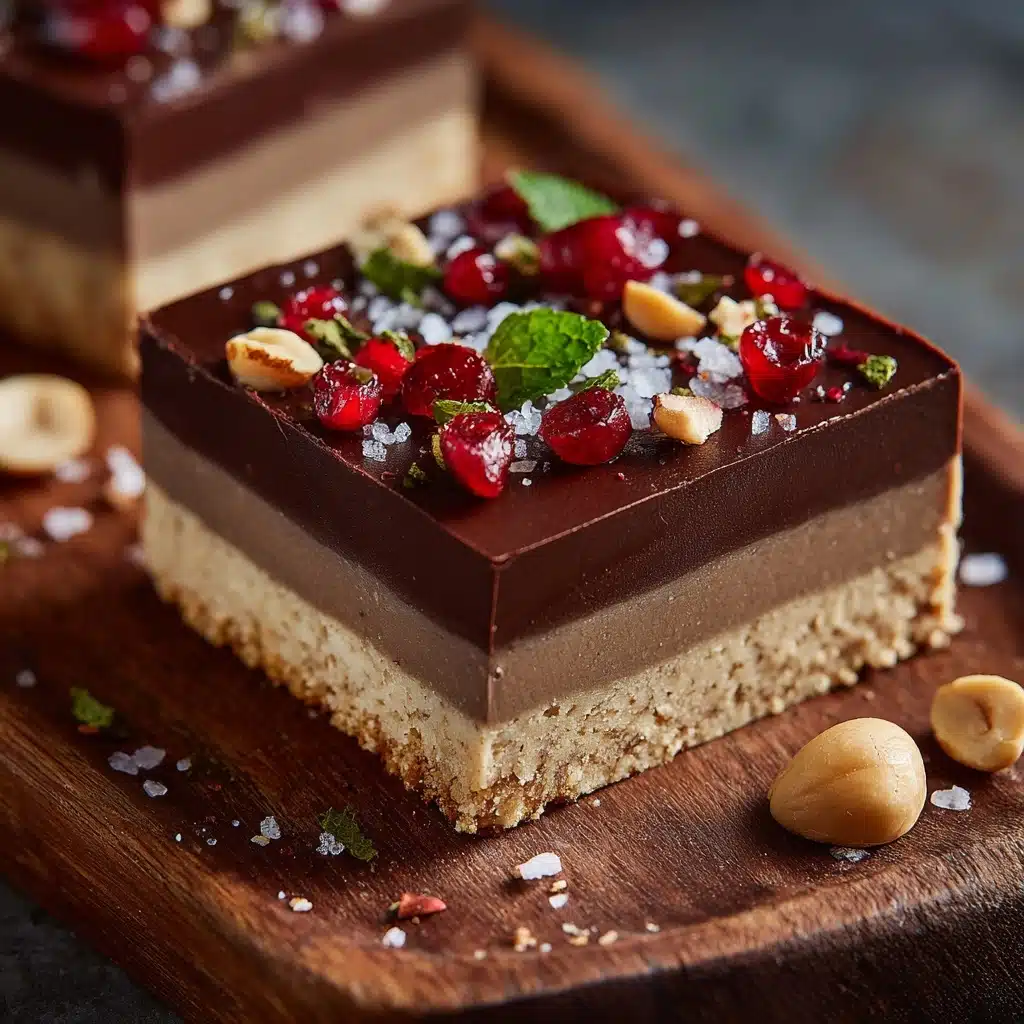
No-Bake Peanut Butter Bars Recipe
If you’re looking for a dessert that hits all the right notes—creamy, crunchy, chocolatey, and oh-so-satisfying—get ready to fall in love with these No-Bake Peanut Butter Bars. This beloved treat is the perfect answer for busy days, indulgent cravings, and those moments when you want something homemade but don’t want to fire up the oven. With a heavenly peanut butter base topped with a thick, luscious layer of chocolate, every bite feels like a celebration. Whether you’re making them for a quick family treat or a special gathering, No-Bake Peanut Butter Bars are guaranteed to be a crowd-pleaser you’ll return to again and again.
Ingredients You’ll Need
The beauty of No-Bake Peanut Butter Bars lies in how a handful of straightforward, pantry-friendly ingredients can create something so wonderfully decadent. Each component has a special job to do—bringing together just the right flavor, texture, and mouthwatering goodness in every bar.
- Graham cracker crumbs: These provide a perfectly crunchy, subtly sweet base that holds everything together and adds great texture.
- Powdered sugar: This helps sweeten the bars while making the peanut butter base smooth and thick without any graininess.
- Unsalted butter (melted): For rich flavor and to give the bars that irresistible melt-in-your-mouth consistency.
- Creamy peanut butter: The star of the show; you’ll want it for both the base and the chocolate topping for that signature nutty taste.
- Semisweet chocolate chips: These melt into a silky, shiny blanket of chocolate that sets up beautifully over the peanut butter layer.
- Extra creamy peanut butter: A little stirred into the chocolate topping ensures it’s perfectly glossy and easy to slice once set.
How to Make No-Bake Peanut Butter Bars
Step 1: Mix the Peanut Butter Base
Start by grabbing a large mixing bowl—you’ll want plenty of space to work in all that goodness! Combine your graham cracker crumbs, powdered sugar, melted butter, and 1 1/2 cups of creamy peanut butter. Stir everything together thoroughly until all the crumbs are moistened and you’ve got a thick, cohesive mixture. It should come together easily and be nicely spreadable without sticking to your hands.
Step 2: Press Into the Pan
Transfer the peanut butter mixture into a greased 9×13-inch baking dish. Use your hands or a spatula to firmly and evenly press the mixture down, making sure to get right into the corners. This is the foundation for your No-Bake Peanut Butter Bars, so don’t rush—it’s worth taking a moment to get a nice, even layer.
Step 3: Melt the Chocolate Topping
Pop your semisweet chocolate chips and those extra 2 tablespoons of creamy peanut butter into a microwave-safe bowl. Microwave in 30-second bursts, stirring each time, until the chocolate is completely smooth and melted. This method helps ensure you don’t accidentally scorch your chocolate, and adding peanut butter gives the topping an extra-silky texture that spreads like a dream.
Step 4: Spread and Chill
Pour the glossy chocolate-peanut butter mixture right over the prepared base. Use an offset spatula or the back of a spoon to spread it evenly, making sure to cover every inch right to the edges. Once it looks irresistible, slide the pan into the refrigerator and let it chill for at least 2 hours, or until the bars are firm and set.
Step 5: Slice and Enjoy
After the waiting game, take your No-Bake Peanut Butter Bars out of the fridge. For the cleanest cuts, let them rest on the counter for about 10 minutes first. Then slice into squares or rectangles—whatever shape makes you happiest. Each bar is a beautiful marriage of chocolate and peanut butter, ready to be enjoyed!
How to Serve No-Bake Peanut Butter Bars
Garnishes
If you’re feeling fancy, add a touch of flair to your No-Bake Peanut Butter Bars by sprinkling a little flaky sea salt or drizzling a swirl of melted white chocolate on top. You could also scatter a handful of crushed peanuts or a few mini chocolate chips for added crunch and visual appeal. The final flourish is up to you and your sweet tooth!
Side Dishes
While these bars are absolutely wonderful on their own, they pair beautifully with a scoop of vanilla ice cream or a tall glass of cold milk. If you’re serving them at a gathering, consider rounding out the dessert table with fresh strawberries or juicy orange slices to balance the richness.
Creative Ways to Present
Turn your No-Bake Peanut Butter Bars into an eye-catching treat by stacking them high on a pretty cake stand or cutting them into bite-sized pieces for a dessert platter. For lunchboxes or picnics, wrap each bar individually in parchment and tie with a ribbon for a sweet homemade touch. You can even sandwich a thin layer of raspberry jam between the base and the chocolate topping for a peanut butter & jelly twist!
Make Ahead and Storage
Storing Leftovers
Keep any extra No-Bake Peanut Butter Bars in an airtight container in your refrigerator. They’ll stay fresh and delicious for up to a week, though chances are they’ll disappear much faster! Storing them chilled also ensures the chocolate stays firm and the peanut butter base retains its structure.
Freezing
If you want to extend the shelf life or prepare ahead for a celebration, you can freeze the bars. Once they’re fully set, layer them between sheets of parchment paper and place in a freezer-safe container. They can be frozen for up to three months. When ready to enjoy, just thaw in the fridge or at room temperature until nicely softened.
Reheating
No reheating required—these bars are all about enjoying cold, creamy perfection straight from the fridge! If you’ve stored them in the freezer, simply let them rest at room temperature for 20-30 minutes, or in the fridge for a couple of hours, to bring back their ideal consistency before serving.
FAQs
Can I use crunchy peanut butter instead of creamy?
Absolutely! Crunchy peanut butter will add a bit of texture and extra peanut pieces for those who love a little crunch in every bite. The flavor stays just as wonderful, so feel free to use whichever style you prefer.
Do I have to use graham cracker crumbs, or can I substitute something else?
Graham cracker crumbs give the base a classic, sweet crunch, but if you want to mix things up, crushed digestive biscuits, vanilla wafers, or even crisp rice cereal can work in a pinch. Just make sure to keep the crumb texture consistent so the bars hold together nicely.
What’s the best way to cut the No-Bake Peanut Butter Bars without cracking the chocolate?
For cleaner cuts, let the bars sit at room temperature for about 10 minutes after chilling. Use a sharp knife and wipe it clean between slices. This helps glide through the chocolate layer without splintering, giving you beautifully neat bars every time.
Can I make these gluten-free?
Definitely! Use gluten-free graham crackers or another gluten-free crunchy cookie as your base. Just check the labels on your other ingredients to ensure the entire batch is gluten-free and safe for your needs.
How long do No-Bake Peanut Butter Bars last?
Stored properly in an airtight container in the fridge, these bars stay fresh for up to a week. If you need to keep them longer, pop them in the freezer and they’ll be good for up to three months—perfect for snacking or entertaining on your own schedule.
Final Thoughts
Whether you’re a lifelong peanut butter fanatic or just in need of an easy dessert win, No-Bake Peanut Butter Bars are a deliciously dependable favorite. They’re simple enough for any kitchen, but special enough to brighten up any occasion. Give this recipe a try and share it with friends and family—once you taste these bars, you’ll understand why they’re impossible to resist!
Print
No-Bake Peanut Butter Bars Recipe
- Total Time: 2 hours 15 minutes (including chilling)
- Yield: 24 bars 1x
- Diet: Non-Vegetarian
Description
Indulge in these irresistible No-Bake Peanut Butter Bars that marry the perfect combination of sweet, salty, and nutty flavors. A simple yet decadent treat that’s sure to satisfy your cravings!
Ingredients
Graham Cracker Crust:
- 2 cups graham cracker crumbs
- 2 cups powdered sugar
- 1 cup unsalted butter, melted
- 1 1/2 cups creamy peanut butter
Chocolate Topping:
- 2 cups semisweet chocolate chips
- 2 tablespoons creamy peanut butter
Instructions
- Prepare the Graham Cracker Crust: In a large bowl, mix graham cracker crumbs, powdered sugar, melted butter, and 1 1/2 cups peanut butter until well combined.
- Press into Pan: Press the mixture into a greased 9×13-inch baking dish evenly.
- Melt Chocolate: In a microwave-safe bowl, melt chocolate chips and 2 tablespoons of peanut butter in 30-second intervals until smooth.
- Top with Chocolate: Pour the chocolate mixture over the peanut butter base and spread it out.
- Chill: Refrigerate for at least 2 hours until firm.
- Serve: Cut into bars before serving.
Notes
- For easier cutting, let the bars sit at room temperature for 10 minutes before slicing.
- Crunchy peanut butter can be substituted for creamy for added texture.
- Store in an airtight container in the refrigerator for up to 1 week, or freeze for longer storage.
- Prep Time: 15 minutes
- Cook Time: 0 minutes
- Category: Dessert
- Method: No-Bake
- Cuisine: American
Nutrition
- Serving Size: 1 bar
- Calories: 280
- Sugar: 21 g
- Sodium: 150 mg
- Fat: 17 g
- Saturated Fat: 7 g
- Unsaturated Fat: 8 g
- Trans Fat: 0 g
- Carbohydrates: 30 g
- Fiber: 2 g
- Protein: 5 g
- Cholesterol: 15 mg