Homemade Cherry Pie Filling Recipe
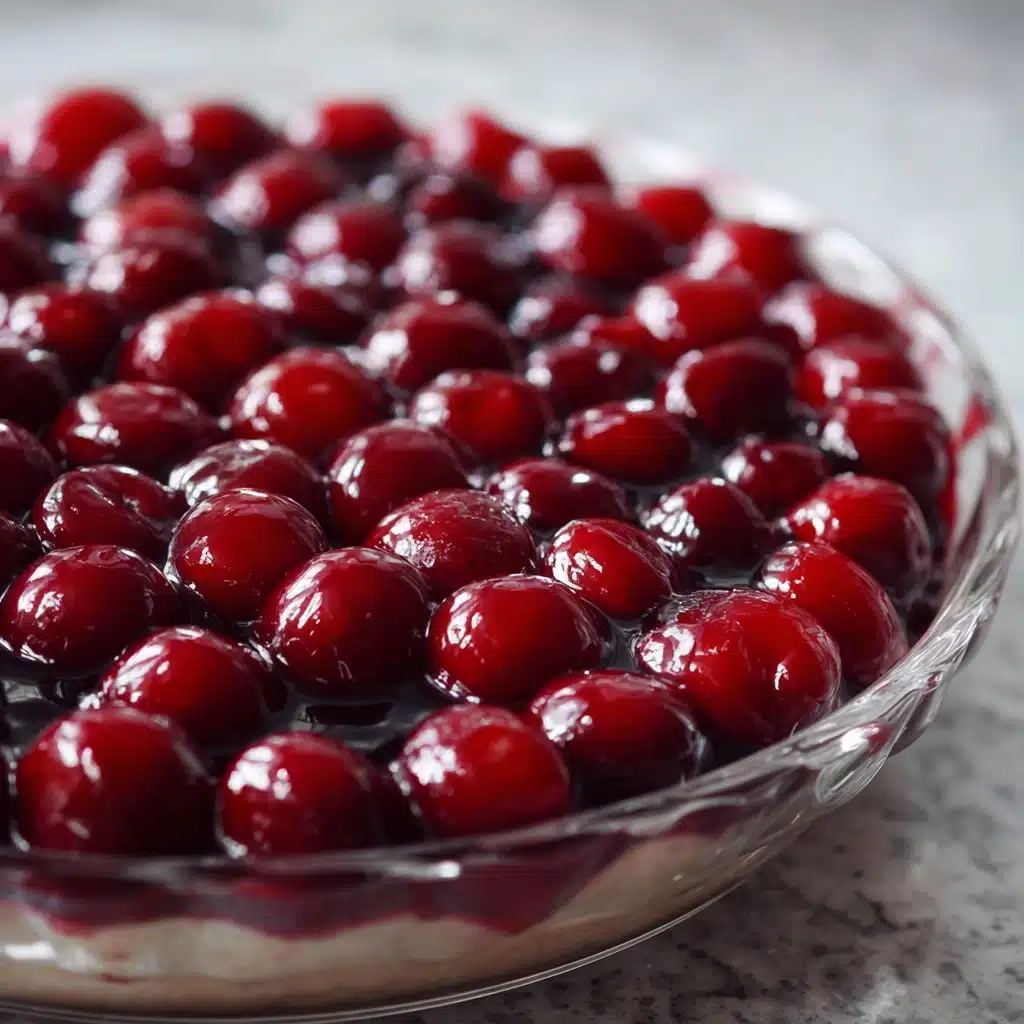
If you’ve ever wished you could bottle up the glorious taste of summer cherries and savor it all year, Homemade Cherry Pie Filling is about to become your new go-to treat. Bursting with juicy cherries swirled in a glossy, ruby-red sauce, this easy recipe lets you create that perfect sweet-tart pie filling from scratch, right in your own kitchen. Whether you’re aiming to impress at your next gathering or simply want a little comfort atop your morning yogurt, this filling brings the magic. Trust me, once you see how quick and customizable it is, you’ll never look at those canned versions the same way again!
Ingredients You’ll Need
You only need a handful of straightforward ingredients to craft this irresistible cherry filling, but each one plays a crucial role in flavor, texture, and vibrant color. These basics combine into a luscious, homemade treat that’s leagues beyond store-bought.
- Cherries (4 cups, pitted, fresh or frozen): The star of the show! Use sweet or tart cherries, fresh or frozen—just be sure they’re pitted for a smooth experience.
- Granulated Sugar (¾ cup): Balances the cherries’ natural tartness and creates that glossy finish we all crave.
- Cornstarch (¼ cup): The secret to achieving that ideal, pie-perfect thickness—no runny fillings here.
- Lemon Juice (1 tablespoon): Brightens up the flavors and adds the tiniest pop of tang.
- Almond Extract (⅛ teaspoon, optional): Infuses a subtle nuttiness, giving your filling a classic, nostalgic bakery twist.
- Ground Cinnamon (¼ teaspoon, optional): Just a pinch deepens and warms the cherry flavor without overpowering it.
- Water (¼ cup, or cherry juice if using frozen cherries): Helps dissolve the sugar and cornstarch, forming the perfect saucy base.
- Salt (pinch): Enhances all the flavors, making the cherries pop and harmonizing the sweetness.
How to Make Homemade Cherry Pie Filling
Step 1: Get Saucy with Your Base
Start by whisking together the granulated sugar, cornstarch, a pinch of salt, and your water (or cherry juice) in a medium saucepan. This simple step lays the foundation for a silky, lump-free sauce, ensuring your Homemade Cherry Pie Filling will be smooth and beautiful when finished.
Step 2: Stir in Cherries and Lemon Juice
Add your pitted cherries and a splash of lemon juice right into the pot. Mixing the citrus with the cherries at this point boosts their fresh flavor and helps the fruit cook evenly, giving every bite a juicy burst.
Step 3: Cook and Thicken
Place the saucepan over medium heat and keep that spoon moving—continuous stirring prevents lumps and helps the mixture thicken consistently. In about 8 to 10 minutes (a little longer if using frozen fruit), you’ll notice the sauce bubbling and the cherries softening beautifully. If you prefer a smoother texture, feel free to gently mash a few cherries against the side of the pan. Your kitchen will already smell incredible!
Step 4: Finish with Flavor
Once your filling has thickened and the cherries are nice and tender, remove the pot from the heat. Stir in the almond extract and cinnamon, if using. These optional additions weave in extra warmth and aromatic depth, making your Homemade Cherry Pie Filling feel like a secret family recipe. Let the filling cool to room temperature before using or storing.
How to Serve Homemade Cherry Pie Filling
Garnishes
This filling begs to be topped with a dollop of softly whipped cream, a sprinkle of toasted sliced almonds, or a few fresh mint leaves. Each little addition makes dessert feel extra-special and irresistible.
Side Dishes
Homemade Cherry Pie Filling doesn’t just belong in pies! It’s heavenly spooned over vanilla bean ice cream, swirled into overnight oats, or even tucked alongside a creamy ricotta panna cotta. Pair with understated sides to let those cherries take center stage.
Creative Ways to Present
Go beyond the classic! Try layering the filling in mini dessert jars, folding it into crepes with lemon zest, or serving as a show-stopping topping on your favorite cheesecake. It’s even fantastic blended into yogurt parfaits for a burst of color and flavor.
Make Ahead and Storage
Storing Leftovers
Once cooled, transfer any leftover Homemade Cherry Pie Filling to an airtight container and refrigerate. It’ll happily last up to 5 days and tends to taste even fruitier as the flavors meld. Always use a clean spoon to help it stay fresh.
Freezing
You can absolutely freeze this filling! Spoon it into a freezer-safe bag or container, making sure to leave a little space for expansion. It’ll keep for up to three months. To use, let it thaw overnight in the fridge and give it a good stir before enjoying.
Reheating
If you’d like your filling warm (hello, pie perfection), gently heat it in a saucepan over low, stirring often, until it’s glossy and steamy. If it’s a bit too thick after chilling, just stir in a splash of water or juice to reach your desired consistency.
FAQs
Can I use sweet cherries instead of tart cherries?
Absolutely! Sweet cherries will make your Homemade Cherry Pie Filling a bit milder and rounder in flavor—if you love that, go for it. You can use the same amount; just remember you might want to decrease the sugar slightly to let the cherry flavor shine.
Do I need to thaw frozen cherries before using?
No need to thaw! Toss them right into the saucepan frozen, though you’ll want to cook the mixture a few extra minutes so any excess liquid cooks off and the filling thickens properly.
Is this filling gluten-free and vegan?
Yes, it is! Since the recipe uses cornstarch for thickening and relies only on fruit, water, and sugar, Homemade Cherry Pie Filling is naturally vegan and gluten-free, making it perfect for a range of diets.
How much filling does this make?
This recipe yields about three cups—just the right amount to fill a standard 9-inch pie. If you need more, it’s easy to double or triple the ingredients without any extra fuss.
Can I use this for things other than pie?
Without a doubt! Swirl it into yogurt or spoon it over pancakes, cheesecake, or waffles. Homemade Cherry Pie Filling is incredibly versatile and perfect for almost any dessert or even as a fun addition to breakfast and brunch.
Final Thoughts
I truly hope you give this Homemade Cherry Pie Filling a try—the simplicity, freshness, and burst of cherry flavor has won my heart, and I can’t wait for it to become a staple in your kitchen, too. Whether folded into pastries, spooned over ice cream, or baked into a classic pie, this filling is pure homemade joy. Let me know how you enjoy it!
Print
Homemade Cherry Pie Filling Recipe
- Total Time: 15 minutes
- Yield: About 3 cups 1x
- Diet: Vegan, Gluten-Free
Description
This homemade cherry pie filling is bursting with fresh cherry flavor and can be used in pies, tarts, or as a delicious dessert topping. Easy to make and customizable with almond extract and cinnamon, this filling is a versatile addition to your baking repertoire.
Ingredients
Main Ingredients:
- 4 cups pitted cherries (fresh or frozen)
- ¾ cup granulated sugar
- ¼ cup cornstarch
- 1 tablespoon lemon juice
- ¼ cup water (or cherry juice if using frozen cherries)
- pinch of salt
Optional Ingredients:
- ⅛ teaspoon almond extract
- ¼ teaspoon ground cinnamon
Instructions
- Prepare the Sauce: In a medium saucepan, combine sugar, cornstarch, salt, and water. Whisk until smooth.
- Cook the Filling: Add cherries and lemon juice. Cook over medium heat until thickened, about 8–10 minutes.
- Finish and Cool: Remove from heat, stir in almond extract and cinnamon. Let cool to room temperature.
- Storage: Use immediately or refrigerate in an airtight container for up to 5 days.
Notes
- This recipe yields enough for one 9-inch pie.
- Gently mashing some cherries while cooking creates a smoother filling.
- Can be frozen for up to 3 months; thaw in the fridge before using.
- Prep Time: 5 minutes
- Cook Time: 10 minutes
- Category: Dessert
- Method: Stovetop
- Cuisine: American
Nutrition
- Serving Size: ½ cup
- Calories: 120
- Sugar: 22g
- Sodium: 10mg
- Fat: 0g
- Saturated Fat: 0g
- Unsaturated Fat: 0g
- Trans Fat: 0g
- Carbohydrates: 28g
- Fiber: 1g
- Protein: 1g
- Cholesterol: 0mg