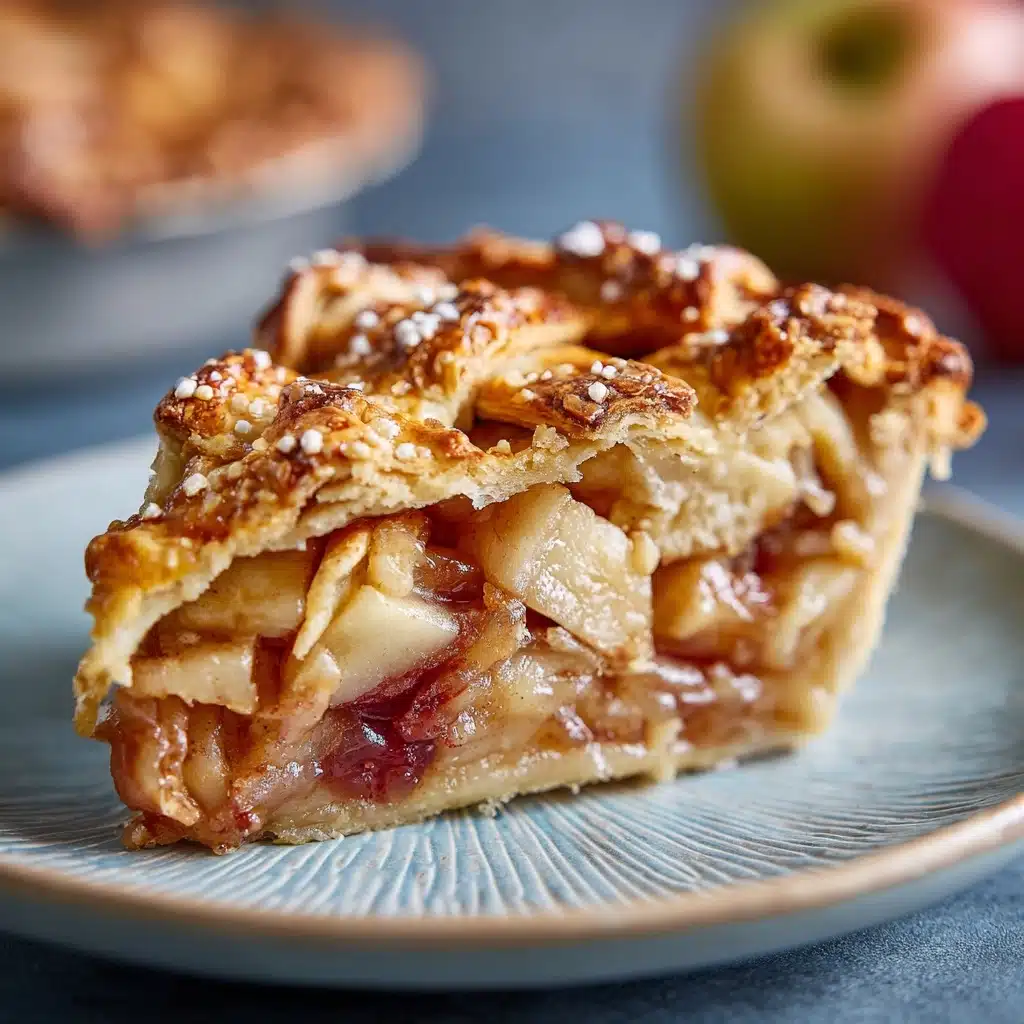
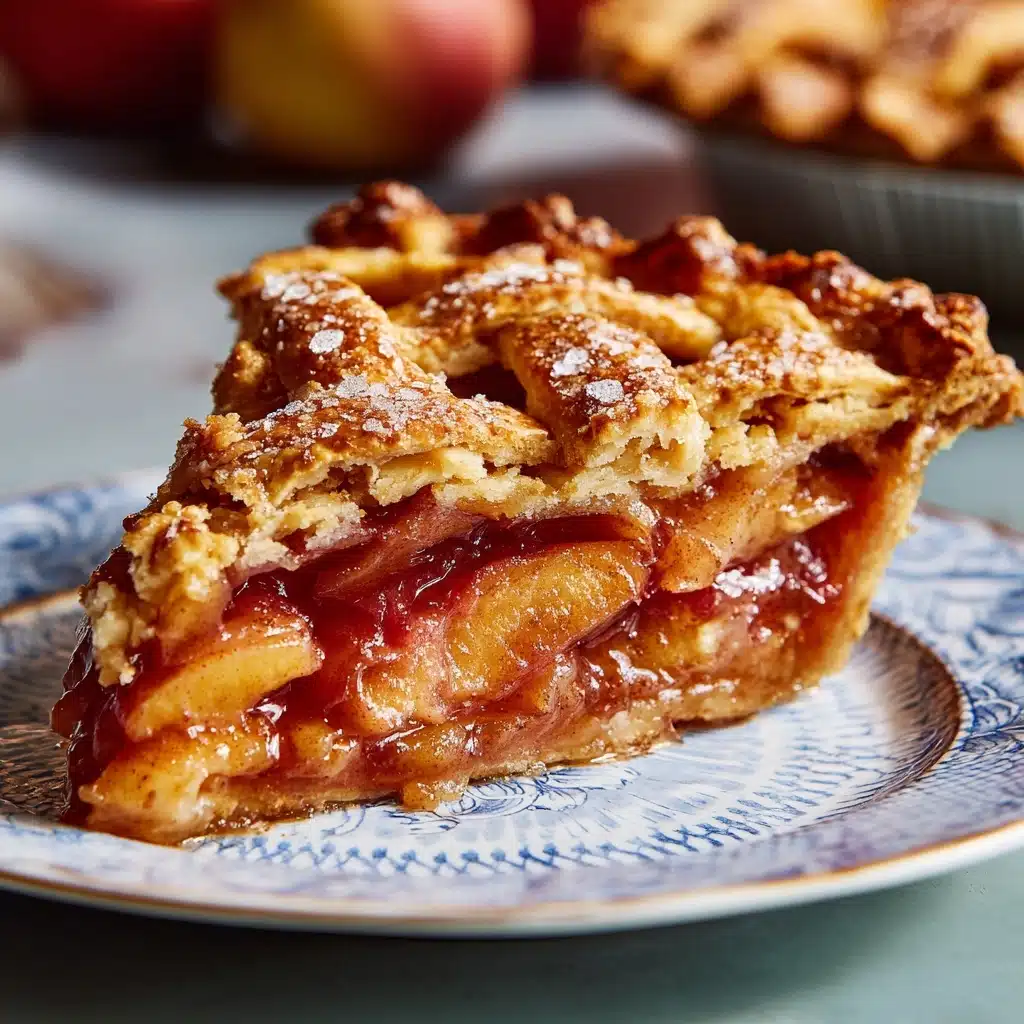
Flaky, Buttery Homemade Pie Crust Recipe
If you’ve ever dreamed of transforming a humble pie into a show-stopping, golden masterpiece, a Flaky, Buttery Homemade Pie Crust is your secret weapon. This recipe delivers irresistibly crisp layers, a delicate crumb, and rich, buttery flavor that elevates any pie filling—sweet or savory—from delightful to unforgettable. Once you experience how rewarding making your own crust can be, you may never go back to store-bought again!
Ingredients You’ll Need
Creating a Flaky, Buttery Homemade Pie Crust only requires a handful of staple ingredients, but each one plays a crucial role in achieving that dream texture and flavor. Let’s dive into what you’ll need and how these simple components work together.
- All-Purpose Flour: The foundation of the crust, chosen for its balanced protein content that provides structure without toughness.
- Salt: Just a teaspoon boosts all the richer, buttery notes and sharpens every bite.
- Granulated Sugar: A tablespoon adds a hint of sweetness and helps with enhancing color during baking.
- Unsalted Butter, Very Cold and Cut into Cubes: The key player for flakiness and that luscious, melt-in-your-mouth texture—cold butter creates those essential layers.
- Ice Water: Cold water gently draws the dough together; using ice-cold prevents the butter from melting too soon.
How to Make Flaky, Buttery Homemade Pie Crust
Step 1: Whisk Together the Dry Ingredients
Begin by grabbing your biggest, sturdiest mixing bowl and whisking together your flour, salt, and sugar. This ensures every bite is seasoned just right and makes it easier to incorporate the butter evenly—a crucial step for that signature tender crumb.
Step 2: Cut in the Cold Butter
Toss in those cubes of ice-cold butter and get ready for a little arm workout. Using a pastry cutter or your hands, quickly work the butter into the flour mixture until it looks like coarse crumbs with lots of pea-sized bits. Don’t overmix: visible bits of butter mean a Flaky, Buttery Homemade Pie Crust every time.
Step 3: Add Ice Water and Bring the Dough Together
With a fork in hand, drizzle in ice water one tablespoon at a time. Gently toss and mix after each addition, stopping as soon as the dough just comes together when pressed between your fingers. Too much water can make your crust tough, but just enough keeps it delightfully pliable.
Step 4: Divide and Shape the Dough
Once the dough holds together, turn it out onto your work surface and quickly bring it into a ball. Divide it in half and flatten each into a thick disk. This gives you two crusts—perfect for a double crust pie or for stashing one away for later inspiration.
Step 5: Chill the Dough
Wrap each disk tightly in plastic wrap and let them rest in the fridge for at least an hour. This step is non-negotiable: it lets the gluten relax and the butter firm up, guaranteeing layers upon layers of flakiness.
Step 6: Roll and Shape
When you’re ready to bake, dust your counter with flour and roll out the dough to fit your pie dish. Move gently with your rolling pin and rotate the dough as you go to prevent sticking. This is where your Flaky, Buttery Homemade Pie Crust dreams start to look like reality!
How to Serve Flaky, Buttery Homemade Pie Crust
Garnishes
The right finishing touches can make your pie even more inviting. A sprinkle of coarse sugar before baking adds sparkle and crunch, while brushing the crust with a little cream or egg wash gives that bakery-worthy shine and deep golden color.
Side Dishes
Pies aren’t just for dessert! When your Flaky, Buttery Homemade Pie Crust holds a savory filling, pair slices with a crisp green salad or a bowl of soup to make a comforting lunch. For sweet pies, fresh berries or a scoop of vanilla ice cream make the flavors pop.
Creative Ways to Present
Go beyond classic lattices by using cookie cutters to decorate the top with leaves, hearts, or stars. Mini pies or hand pies are a fun, portable way to showcase that Flaky, Buttery Homemade Pie Crust at picnics, potlucks, or packed lunches.
Make Ahead and Storage
Storing Leftovers
Leftover crust or baked pie stores beautifully! Tightly wrap any unused dough disks or pie slices in plastic wrap and keep them in the refrigerator for up to 3 days. The crust stays crisp and flavorful, ready for a quick treat or another baking adventure.
Freezing
If you want to plan ahead, wrap your crust dough (or even line a pie dish and freeze) for up to 3 months. This lets you whip up spontaneous, Flaky, Buttery Homemade Pie Crust creations on your busiest days—just thaw overnight in the fridge and you’re good to go.
Reheating
Bring life back to chilled or day-old pie by popping slices in a 350°F oven for 10 minutes. This wakes up the crust, restoring its flakiness and making everything taste freshly baked.
FAQs
Why does my pie crust sometimes shrink?
Shrinking happens when the dough is overworked or not given enough rest. Make sure to chill the dough as directed and avoid stretching it into the pie dish—let gravity do most of the work.
Can I use salted butter instead of unsalted?
You can, but it’s best to stick to unsalted butter for maximum control over the seasoning. If you only have salted, reduce the added salt in the recipe to balance the flavors.
What if I don’t have a pastry cutter?
No pastry cutter? No problem! Two knives or even your fingertips work just as well. The goal is to keep those butter pieces cold and irregular, which will translate into loads of tiny, flaky layers.
Can I make this Flaky, Buttery Homemade Pie Crust gluten-free?
Absolutely! Substitute a cup-for-cup gluten-free flour blend and watch your chilling and rolling time, as gluten-free doughs are often a tad more delicate but just as delicious.
Should I blind-bake the crust for every recipe?
Not always. Blind baking is a must when your filling is very wet or no-bake, like custards or cream pies. For fruit pies, assembling and baking it all together usually works beautifully—the juicy fruit helps cook the bottom crust to perfection.
Final Thoughts
The difference a Flaky, Buttery Homemade Pie Crust makes is truly unforgettable—each bite is a celebration of your kitchen skills and a joy for anyone who’s lucky enough to share your table. Give it a try and watch your pies transform into bakery-worthy wonders!
Print
Flaky, Buttery Homemade Pie Crust Recipe
- Total Time: 15 minutes (plus chilling time)
- Yield: 2 pie crusts (enough for one double-crust pie or two single-crust pies) 1x
- Diet: Vegetarian
Description
Learn how to make a flaky, buttery homemade pie crust that’s perfect for sweet or savory pies. This easy recipe yields a tender crust that will elevate your pie game!
Ingredients
Dough:
- 2 1/2 cups all-purpose flour
- 1 teaspoon salt
- 1 tablespoon granulated sugar
- 1 cup (2 sticks) unsalted butter, very cold and cut into small cubes
- 6 to 8 tablespoons ice water
Instructions
- Prepare the Dough: In a large bowl, whisk together the flour, salt, and sugar. Add cold, cubed butter and work it into the flour until mixture resembles coarse crumbs. Drizzle in ice water, mixing gently until dough holds together.
- Chill the Dough: Divide dough in half, shape into disks, wrap in plastic, and refrigerate for at least 1 hour.
- Roll Out the Dough: Roll out chilled dough on a floured surface to fit your pie dish.
Notes
- Keep ingredients cold for a flakier crust.
- Dough can be made ahead or frozen.
- Prep Time: 15 minutes
- Cook Time: 0 minutes
- Category: Baking
- Method: No-Cook
- Cuisine: American
Nutrition
- Serving Size: 1/8 of one crust
- Calories: 220
- Sugar: 1g
- Sodium: 150mg
- Fat: 15g
- Saturated Fat: 9g
- Unsaturated Fat: 5g
- Trans Fat: 0g
- Carbohydrates: 19g
- Fiber: 1g
- Protein: 2g
- Cholesterol: 40mg