Chocolate Peanut Butter Dream Bars Recipe
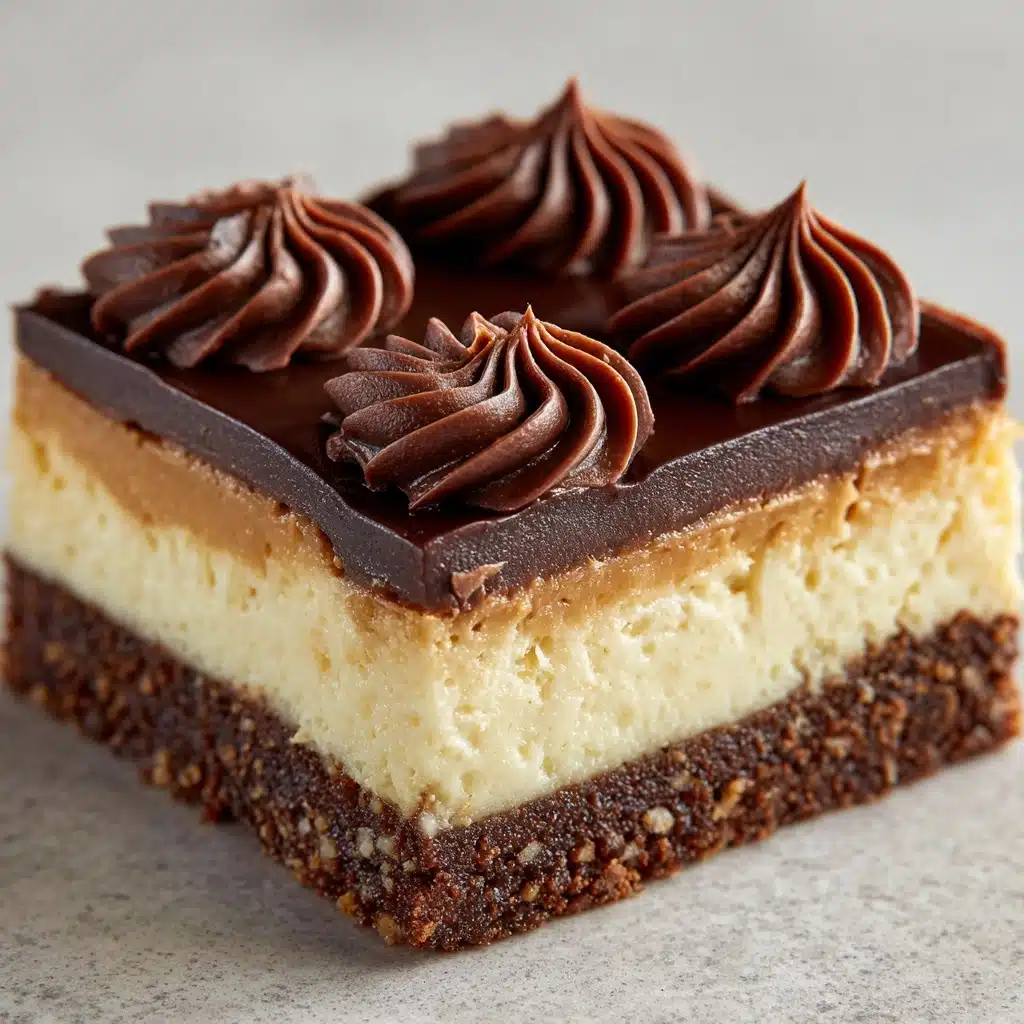
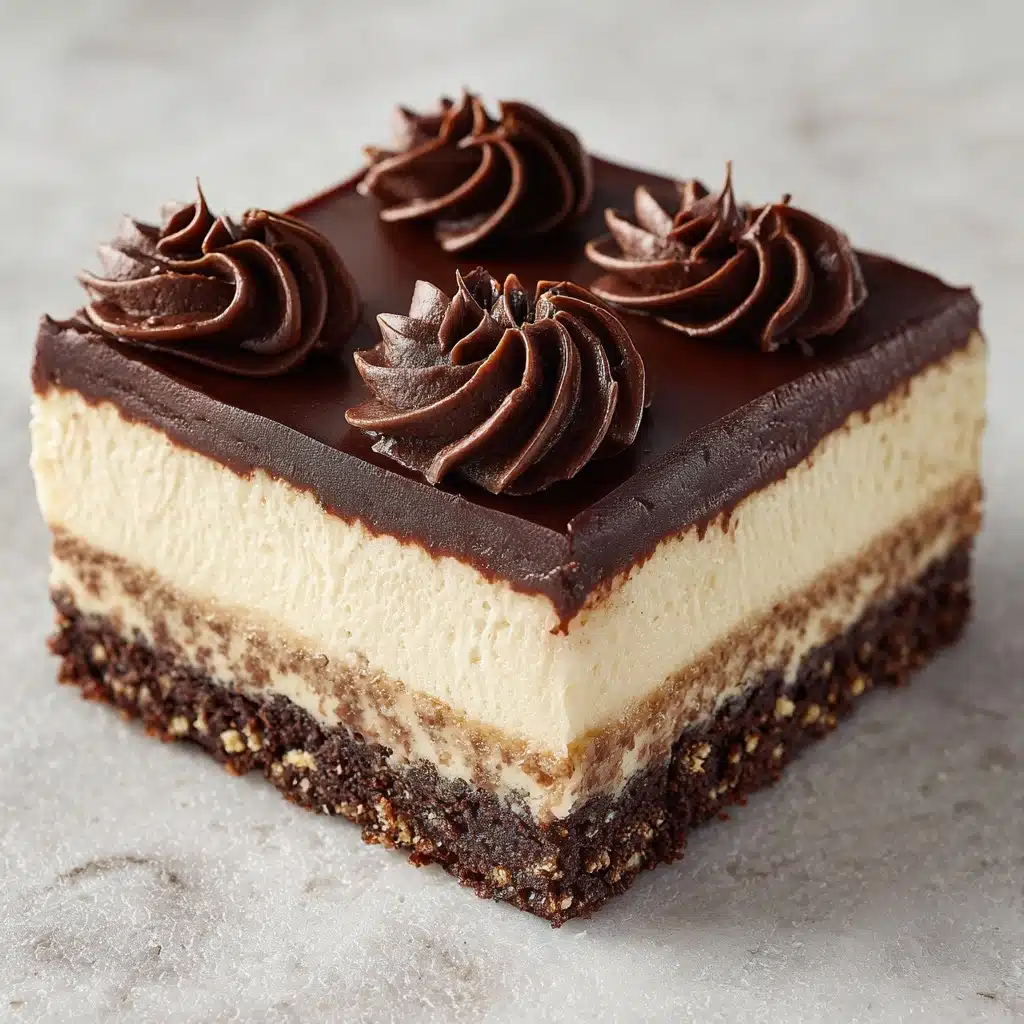
If you’re searching for the ultimate mashup of creamy, chocolatey, and nutty flavors in a single bite, let me introduce you to Chocolate Peanut Butter Dream Bars. This dreamy dessert layers a chocolate cookie crust, luscious peanut butter-cream cheese filling, silky chocolate pudding, and fluffy whipped topping crowned with a generous smattering of chocolate chips or crunchy peanuts. These bars aren’t just a treat for your taste buds: they’re show-stopper sweets you’ll want to share at every gathering—or keep all to yourself!
Ingredients You’ll Need
The magic of Chocolate Peanut Butter Dream Bars lies in their handful of everyday ingredients, each one playing a key role in flavor and texture. A little prep goes a long way toward a dessert everyone will rave about!
- Crushed chocolate graham crackers or chocolate cookie crumbs (1 1/2 cups): This is your rich, crunchy base, adding both structure and that first bite of chocolate goodness.
- Melted butter (1/3 cup): Butter binds the crumb crust together and brings out every decadent, toasty flavor.
- Creamy peanut butter (1 cup): The heart of the dream bar—smooth, sweet, and nutty, it perfectly balances the chocolate layers.
- Cream cheese, softened (8 oz): Adds creaminess and tang to the peanut butter layer, making it extra luscious.
- Powdered sugar (1/2 cup): Sweetens the peanut butter filling and dissolves instantly for a smooth finish.
- Whipped topping, thawed (8 oz): Folded into the filling and used as a fluffy cloud of final topping.
- Instant chocolate pudding mix (1 package, 3.9 oz): This shortcut creates a no-fuss, velvety chocolate layer.
- Cold milk (1 1/2 cups): Brings your pudding mix to life—cold is key for a quick, thick set.
- Mini chocolate chips or chopped peanuts for topping (1/2 cup): Sprinkle on for crunch and chocolatey pizzazz in every bite.
How to Make Chocolate Peanut Butter Dream Bars
Step 1: Make the Chocolate Cookie Crust
Start by mixing your crushed chocolate graham crackers or cookie crumbs with melted butter in a bowl until the mixture looks like damp sand. Press this crumbly goodness evenly into the bottom of a 9×9-inch baking dish, making sure to pack it down well so it forms a sturdy base. If you want an extra-firm crust, pop it in a 350°F oven for about 8 minutes, then let it cool completely—you’ll love the contrast in textures!
Step 2: Whip Up the Peanut Butter-Cream Cheese Layer
In a separate bowl, combine creamy peanut butter, softened cream cheese, and powdered sugar. Beat until the mixture is utterly smooth—no lumps allowed! Gently fold in half of the whipped topping for a filling that’s airy, not heavy. Spread this glorious concoction gently over the crust, making sure to reach all the corners so every bite is perfect.
Step 3: Prepare the Chocolate Pudding Layer
Now, in a clean bowl, whisk the instant chocolate pudding mix with the cold milk for about two minutes until it thickens. You’ll know it’s ready when it can hold its shape but is still easy to spread. Carefully spoon the pudding over your peanut butter layer, smoothing it out for a beautiful, glossy chocolate blanket.
Step 4: Add Whipped Topping and Garnishes
Spread the remaining whipped topping generously over the pudding layer. Then, for the grand finale, sprinkle mini chocolate chips or chopped peanuts over the top. This step is where you can really get creative—press a few chips into the topping, or keep it as a light, sweet sprinkle.
Step 5: Chill and Serve
The hardest part? Waiting! Cover your Chocolate Peanut Butter Dream Bars and chill them in the fridge for at least 4 hours, or overnight if you can bear it. This allows all the layers to set and makes slicing a breeze. When you’re ready, cut into squares and revel in each bite.
How to Serve Chocolate Peanut Butter Dream Bars
Garnishes
Give your dream bars some extra flair with a drizzle of melted chocolate, a dusting of powdered sugar, or an extra sprinkle of crushed peanuts. If you’re in a festive mood, add a swirl of caramel or a cherry on top. These little touches add personality and can be tailored to any occasion.
Side Dishes
As rich and satisfying as they are, Chocolate Peanut Butter Dream Bars pair beautifully with something light and refreshing, like a fresh berry salad or a scoop of vanilla frozen yogurt. Those cool, tart contrasts make the decadent flavors stand out even more.
Creative Ways to Present
Try serving your bars in mini cupcake wrappers for a party-ready, grab-and-go dessert. Use cookie cutters to turn them into whimsical shapes, or layer them in small jars for a deconstructed parfait style. However you serve them, these bars are guaranteed to impress.
Make Ahead and Storage
Storing Leftovers
Good news—Chocolate Peanut Butter Dream Bars keep beautifully in the fridge! Cover the dish tightly with plastic wrap or foil, or place leftover squares in an airtight container. They’ll stay fresh, creamy, and irresistible for up to 5 days, making them a perfect make-ahead dessert for busy weeks or parties.
Freezing
If you want to stash some away for a rainy day, these bars are freezer-friendly. Place individual squares on a lined baking sheet, freeze until solid, then transfer them to a freezer-safe container with parchment between layers. They’ll keep for up to 2 months. Thaw overnight in the fridge for the best texture.
Reheating
Since Chocolate Peanut Butter Dream Bars are all about that perfect chilled texture, you won’t need to reheat them. If you’ve frozen your bars, just let them defrost in the fridge—not the microwave—to preserve their creamy layers and crisp crust.
FAQs
Can I use natural peanut butter in this recipe?
Absolutely! Just be aware that natural peanut butter tends to be a bit oilier and thinner, so you might need to mix it well and expect a slightly softer filling. If you prefer a firmer texture, stick with classic creamy peanut butter.
Is it possible to make Chocolate Peanut Butter Dream Bars gluten-free?
Yes! Just use gluten-free chocolate cookies or graham crackers for the crust, and make sure your other ingredients (including the pudding mix) are labeled gluten-free. You won’t miss a beat in taste or texture.
Can I swap the chocolate pudding for another flavor?
Of course! Vanilla, butterscotch, or even banana pudding all make fun alternatives if you feel like changing things up. Each brings a distinct personality to your dream bars while keeping the dreamy layers intact.
How long can I make these bars in advance?
Chocolate Peanut Butter Dream Bars are ideal for making in advance—just assemble them the night before or up to two days ahead. The flavors meld even more the next day, and the bars hold their shape beautifully after chilling.
What’s the best way to slice these bars neatly?
For picture-perfect squares, use a sharp knife run under hot water and wiped dry between slices. This trick helps cut through the creamy layers cleanly, giving you bakery-worthy bars every time.
Final Thoughts
If you love the dreamy combination of chocolate and peanut butter, you owe it to yourself to make these Chocolate Peanut Butter Dream Bars at least once. With simple ingredients and no oven required, it’s a recipe you’ll come back to whenever you want to wow family, friends, or just treat yourself. Happy snacking!
Print
Chocolate Peanut Butter Dream Bars Recipe
- Total Time: 4 hours 20 minutes (including chilling)
- Yield: 9 bars 1x
- Diet: Non-Vegetarian
Description
Indulge in the decadent layers of chocolate and peanut butter goodness with these no-bake Chocolate Peanut Butter Dream Bars. Creamy, rich, and oh-so-satisfying, they are a dreamy dessert for any occasion.
Ingredients
Crust:
- 1 1/2 cups crushed chocolate graham crackers or chocolate cookie crumbs
- 1/3 cup melted butter
Peanut Butter Layer:
- 1 cup creamy peanut butter
- 8 oz cream cheese, softened
- 1/2 cup powdered sugar
- 1 (8 oz) tub whipped topping (like Cool Whip), thawed
Chocolate Pudding Layer:
- 1 (3.9 oz) package instant chocolate pudding mix
- 1 1/2 cups cold milk
Topping:
- 1/2 cup mini chocolate chips or chopped peanuts for topping
Instructions
- Prepare the Crust: Combine crushed chocolate graham crackers and melted butter. Press firmly into a 9×9-inch baking dish to form a crust.
- Make the Peanut Butter Layer: Beat together peanut butter, cream cheese, and powdered sugar until smooth. Fold in half of the whipped topping, then spread over the crust.
- Prepare the Chocolate Pudding Layer: Whisk together chocolate pudding mix and cold milk until thickened. Spread over the peanut butter layer.
- Finish and Chill: Top with remaining whipped topping and sprinkle with mini chocolate chips or chopped peanuts. Chill for at least 4 hours before slicing and serving.
Notes
- For a firmer crust, bake at 350°F (175°C) for 8 minutes and cool before layering.
- Try different pudding flavors like vanilla or butterscotch for a twist.
- Prep Time: 20 minutes
- Cook Time: 0 minutes
- Category: Dessert
- Method: No-Bake
- Cuisine: American
Nutrition
- Serving Size: 1 bar
- Calories: 410
- Sugar: 24 g
- Sodium: 300 mg
- Fat: 28 g
- Saturated Fat: 11 g
- Unsaturated Fat: 15 g
- Trans Fat: 0 g
- Carbohydrates: 32 g
- Fiber: 2 g
- Protein: 7 g
- Cholesterol: 25 mg