Canning Apple Butter Recipe
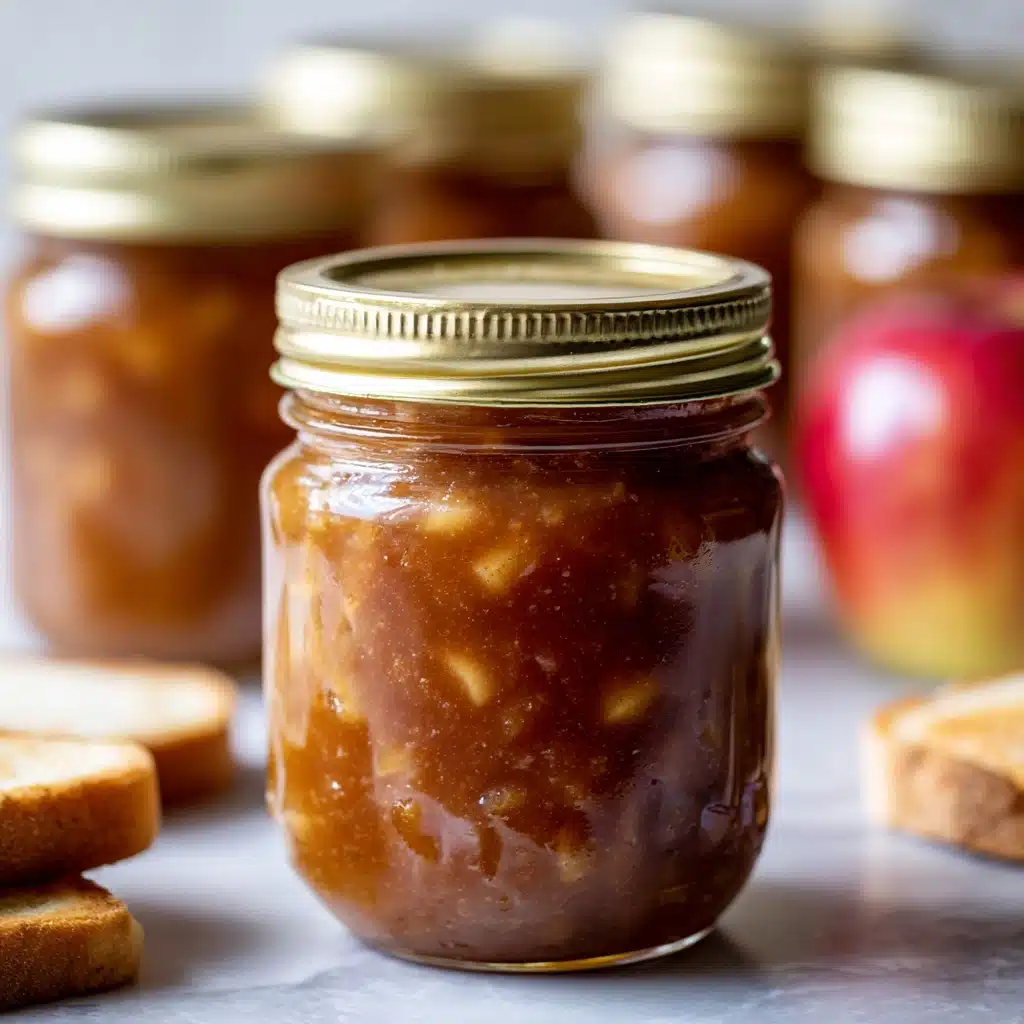
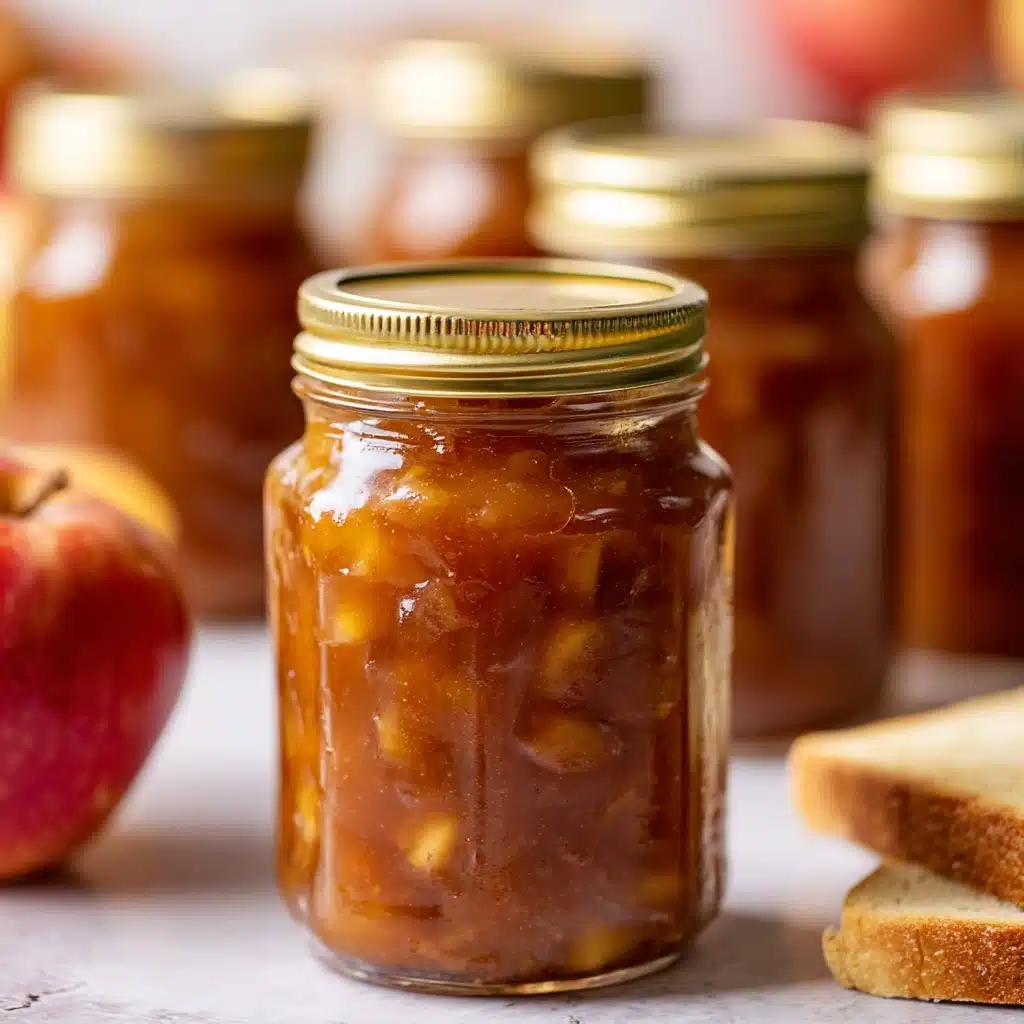
If you’re ready to fill your house with the inviting scents of autumn and make something truly special for your pantry, you have to try Canning Apple Butter. This spread is silky, comforting, sweetly spiced, and just the right kind of homemade goodness that makes toast, biscuits, and even oatmeal taste like a big cozy hug. Whether you’re a seasoned canner or completely new to the process, this recipe walks you through all the steps, so you can stock up on jars of deep, caramel-apple flavor that will last all year long.
Ingredients You’ll Need
Great apple butter starts with simple, honest ingredients. Every item on this list brings its own unique something to the table, whether it’s the juicy apples or the warm, fragrant spices that make each spoonful so inviting.
- 6 pounds apples: Choose a mix of sweet and tart varieties for balanced flavor and natural pectin for texture.
- 4 cups apple cider or apple juice: This is the flavorful base that helps the apples cook down and intensify the apple essence.
- 3 cups granulated sugar: Adds the signature sweetness, helping the butter thicken and preserve beautifully.
- 1 cup packed brown sugar: Deepens the flavor profile with a touch of molasses richness and color.
- 2 teaspoons ground cinnamon: Essential for warmth and that classic hint of spice we all crave in apple butter.
- 1/2 teaspoon ground cloves: Adds extra depth and a gentle, aromatic kick.
- 1/2 teaspoon ground nutmeg: Offers a lovely, almost floral background note that pairs perfectly with apples.
- 1/4 teaspoon salt: Just enough to balance the flavors and bring out the natural sweetness of the fruit.
- 2 tablespoons lemon juice: Brings brightness and helps preserve both the color and shelf life.
How to Make Canning Apple Butter
Step 1: Prepare the Apples
Peel, core, and chop your apples into chunks. This may take a little time, but it’s totally worth it—prepped apples mean a smoother apple butter and save you tons of work later. Aim for 6 pounds total weight after peeling and coring for the best consistency.
Step 2: Cook Down the Fruit
Add the apples and apple cider (or juice) to a large pot or trusty Dutch oven. Bring to a boil over medium-high heat, then quickly lower the heat to a gentle simmer. Keep the lid ajar and cook for 25 to 30 minutes, stirring occasionally, until the apple pieces are completely tender and almost falling apart. Your kitchen will start to smell amazing at this point!
Step 3: Puree Until Smooth
Once the apples are soft, it’s time to blend. For a truly velvety finish, use an immersion blender right in the pot, or transfer the mixture in batches to a food mill or blender. Whichever tool you use, get it nice and smooth—this is what gives Canning Apple Butter its signature silky spreadability.
Step 4: Add Sugar and Spices
Stir in the granulated sugar, brown sugar, ground cinnamon, cloves, nutmeg, salt, and lemon juice. Mix well until everything is fully dissolved. Taste and adjust the spices to suit your own preferences—this is where you get to make your apple butter your own!
Step 5: Simmer and Thicken
Reduce the heat to low and simmer, uncovered, stirring often. Let the mixture slowly reduce for 1 to 2 hours. It will thicken and darken to a glorious deep brown color. The longer it cooks, the richer and more concentrated the flavors become. Keep an eye on it and stir more frequently as it thickens to prevent sticking.
Step 6: Prepare Your Canning Tools
While your apple butter finishes up, bring out your boiling water canner. Sterilize jars and lids by boiling them for at least 10 minutes to ensure food safety and a proper seal. Warm jars also help prevent cracking when you ladle in the hot butter.
Step 7: Fill and Process the Jars
Ladle the hot apple butter into your warm, sterilized jars, leaving about 1/4 inch of headspace at the top. Run a chopstick or spatula around the inside of the jars to remove any air bubbles. Wipe the rims clean, then fasten lids and screw bands until just fingertip tight. Carefully lower the jars into the boiling water canner and process for 10 minutes (adjusting for elevation if you need to). This step ensures your Canning Apple Butter is shelf-stable and safe to store.
Step 8: Cool and Store
Remove the jars from the canner and let them stand undisturbed for 12 to 24 hours. As they cool, you’ll hear those satisfying pops as the seals form. Check that each lid has sealed before labeling and storing your jars in a cool, dark spot. Congratulations—you’ve just made a batch of homemade Canning Apple Butter!
How to Serve Canning Apple Butter
Garnishes
Top your apple butter with a dusting of ground cinnamon or freshly grated nutmeg for an extra-special presentation. A dollop of whipped cream or a sprinkle of toasted pecans adds just the right flourish if you’re serving it for brunch or dessert.
Side Dishes
This spread is perfection on warm biscuits, English muffins, or pancakes. You can also swirl it into Greek yogurt, spoon it over oatmeal, or pair with a sharp cheddar cheese plate for an unforgettable appetizer—Canning Apple Butter knows no bounds!
Creative Ways to Present
Try layering apple butter between cake layers, using it as a glaze for grilled meats, or swirling it into muffin batters. Gift a jar wrapped in a pretty ribbon for the holidays or dress up your breakfast board with a bowl of this glowing, spiced spread front and center.
Make Ahead and Storage
Storing Leftovers
Once opened, store your Canning Apple Butter in the refrigerator with the lid securely fastened. It will keep beautifully for up to 2 weeks—if you can resist finishing it sooner! Always use a clean spoon for serving to preserve freshness.
Freezing
If you’d like to keep some apple butter past the two-week mark, freezing is a great option. Simply portion into freezer-safe containers (leaving room for expansion) and freeze for up to 6 months. Let thaw overnight in the fridge when you’re ready to enjoy.
Reheating
Canning Apple Butter tastes wonderful cold, but if you prefer it warm, just heat the amount you want in a small saucepan over low heat or in the microwave for a few seconds. Stir well and serve—those apple aromas will come right back to life!
FAQs
Can I use all one type Preserves, Spread
While you technically can, I highly recommend using a blend of sweet and tart apples for the best flavor and consistency. Mixing varieties creates more complex, delicious results in your Canning Apple Butter.
Is it necessary to peel the apples first?
Yes, peeling the apples ensures a smooth and spreadable texture. The skins won’t break down enough and can make the butter grainy, so it’s worth the extra effort to peel them before cooking.
Do I need to use a water bath canner?
For safe shelf storage, processing the jars in a boiling water bath is necessary. This step creates a vacuum seal and prevents spoilage, giving your Canning Apple Butter a much longer pantry life.
Can I reduce the sugar?
You can experiment with the sugar if you prefer a less sweet spread, but keep in mind that sugar plays a key role in both texture and preservation. If reducing, try it in small batches first to ensure you still get the silky, thick result you’re after.
How do I know when the apple butter is thick enough?
The apple butter is ready when it mounds up softly on a spoon and doesn’t leak watery juices around the edge. You can also do the “plate test”: drop a spoonful on a chilled plate—if liquid doesn’t seep out, it’s thick enough for canning!
Final Thoughts
I hope you’re as excited about Canning Apple Butter as I am—it’s the kind of recipe that turns a quiet afternoon into something rewarding and delicious. Take your time, enjoy the scents, and don’t be surprised if friends and family beg for a jar or two. Happy canning!
Print
Canning Apple Butter Recipe
- Total Time: 2 hours 30 minutes
- Yield: 6 half-pints 1x
- Diet: Vegan, Gluten-Free
Description
Learn how to make delicious homemade apple butter with this easy canning recipe. Perfect for spreading on toast or using in your favorite recipes, this spiced apple spread is a fall favorite.
Ingredients
Apples:
- 6 pounds apples, peeled, cored, and chopped
Apple Cider Mixture:
- 4 cups apple cider or apple juice
Sugar and Spices:
- 3 cups granulated sugar
- 1 cup packed brown sugar
- 2 teaspoons ground cinnamon
- 1/2 teaspoon ground cloves
- 1/2 teaspoon ground nutmeg
- 1/4 teaspoon salt
Lemon Juice:
- 2 tablespoons lemon juice
Instructions
- Cook Apples: In a large pot, cook apples and apple cider until soft.
- Puree: Use a blender to puree the mixture until smooth.
- Add Ingredients: Stir in sugars, spices, salt, and lemon juice.
- Simmer: Cook the mixture until thick and spreadable.
- Canning: Ladle hot apple butter into jars, process in a canner, and cool before storing.
Notes
- Use a mix of sweet and tart apples for the best flavor.
- Properly canned jars last up to one year, refrigerate open jars.
- Prep Time: 30 minutes
- Cook Time: 2 hours
- Category: Preserves, Spread
- Method: Stovetop, Canning
- Cuisine: American
Nutrition
- Serving Size: 1 tablespoon
- Calories: 30
- Sugar: 7 g
- Sodium: 5 mg
- Fat: 0 g
- Saturated Fat: 0 g
- Unsaturated Fat: 0 g
- Trans Fat: 0 g
- Carbohydrates: 8 g
- Fiber: 0 g
- Protein: 0 g
- Cholesterol: 0 mg