Butterfinger Cheesecake Recipe
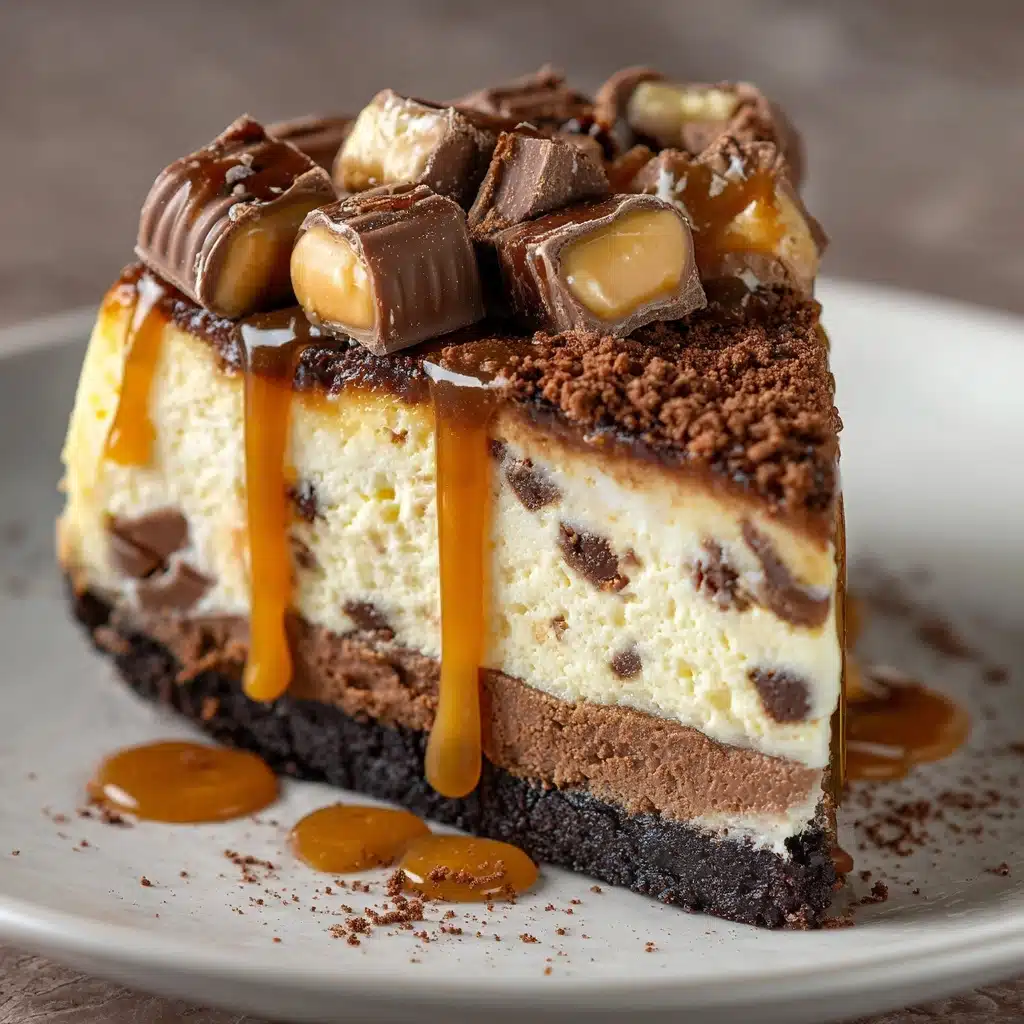
If you’re looking for the ultimate dessert that fuses creamy decadence with nostalgic candy bar crunch, look no further than this irresistible Butterfinger Cheesecake. This recipe transforms a classic cheesecake into something truly extraordinary, with a crisp graham cracker crust, a pillow-soft filling studded with chunks of Butterfinger, and a glossy chocolate ganache for that final, dramatic flourish. Each slice is a symphony of textures and flavors, making this Butterfinger Cheesecake perfect for birthdays, holidays, or any occasion that calls for a show-stopping treat.

Ingredients You’ll Need
It’s amazing how a mix of pantry staples and a handful of Butterfinger bars can create such magic! Each ingredient has a special job to do, whether that’s building structure, adding creamy richness, or bringing that classic crunchy bite and peanut buttery flavor we all love.
- Graham cracker crumbs: The classic base gives a sweet, buttery crunch that holds everything together beautifully.
- Granulated sugar: Adds just the right amount of sweetness to both crust and filling, balancing flavors perfectly.
- Unsalted butter (melted): Makes the crust delightfully rich and helps hold those crumbly bits in place.
- Cream cheese (softened): The star of any cheesecake! Make sure it’s at room temp for the smoothest, dreamiest filling.
- Sour cream: A little tang goes a long way here, giving the cheesecake signature silkiness and a slight lift in flavor.
- Large eggs: Essential for setting the custard-like texture in the oven—add them one at a time for best results.
- Vanilla extract: Rounds out the flavors with a warm, aromatic note that ties every bite together.
- Chopped Butterfinger candy bars: The reason we’re all here! Their iconic crunch and peanut buttery flavor make this cheesecake unforgettable.
- Heavy cream: The key to a luxuriously smooth and pourable chocolate ganache topping.
- Semi-sweet chocolate chips: Bring a glossy, bittersweet finish to every slice, balancing all that irresistible richness.
How to Make Butterfinger Cheesecake
Step 1: Prepare the Crust
Start by preheating your oven to 325°F. In a medium bowl, mix together the graham cracker crumbs, ¼ cup of sugar, and melted butter. Stir until everything feels like wet sand—the right texture is key for a solid base. Press this mixture firmly into the bottom of a 9-inch springform pan, making sure to build a strong foundation for your Butterfinger Cheesecake. Bake for about 10 minutes, just until the edges start to look golden. Set aside to cool slightly while you work on the filling.
Step 2: Make the Cheesecake Filling
In a large mixing bowl, beat the softened cream cheese with 1 cup of sugar until velvety and smooth, scraping down the sides to keep lumps at bay. Add the sour cream, eggs (one by one!), and vanilla extract. Mix just until fully combined—over-mixing can add too much air and cause cracking. Now for the fun part: fold in 1 cup of chopped Butterfinger candy bars, making sure chocolate and crispy bits are sprinkled all through the creamy batter.
Step 3: Bake the Cheesecake
Pour your luscious filling into the cooled graham cracker crust, gently smoothing the top with a spatula. Bake in your preheated oven for 55 to 65 minutes, until the center is nearly set but still has the slightest jiggle. Turn off the oven, prop the door open a few inches, and let the cheesecake cool inside for an hour. This trick helps prevent cracks—patience truly pays off here!
Step 4: Chill and Top with Ganache
Once at room temperature, transfer your Butterfinger Cheesecake to the fridge for at least 4 hours (or overnight if you can wait). For the finishing touch, heat the heavy cream until just simmering, then pour over the chocolate chips in a heat-proof bowl. Let it sit for two minutes, then stir until the ganache is silky smooth. Pour it over the chilled cheesecake, using an offset spatula or the back of a spoon to spread. Don’t forget to scatter the remaining Butterfinger pieces over the top for a candy-lover’s dream finish!
How to Serve Butterfinger Cheesecake
Garnishes
For a truly eye-catching presentation, sprinkle extra chopped Butterfinger pieces across the top just before serving. If you love a little color, add a few chocolate curls or a drizzle of caramel sauce. Each slice will look worthy of a bakery window—and taste a hundred times better!
Side Dishes
Butterfinger Cheesecake is a dessert that loves to stand alone, but if you want to serve it with something special, try a fresh fruit salad, a scoop of vanilla bean ice cream, or even a dollop of lightly sweetened whipped cream. The lightness of fruit or cream contrasts beautifully with the cheesecake’s richness.
Creative Ways to Present
Turn your Butterfinger Cheesecake into mini cheesecakes using cupcake tins for adorable, individually portioned treats—perfect for parties or potlucks. You can also serve as cheesecake bars by baking in a square pan and cutting into neat squares, or get fancy and layer slices with extra whipped cream and Butterfinger crumbles in parfait glasses for a playful twist.
Make Ahead and Storage
Storing Leftovers
Store any remaining Butterfinger Cheesecake tightly covered in the fridge. It will stay delicious for up to four days and tastes even better after sitting overnight as the flavors meld together. Keep it in the springform pan for fuss-free storage, or transfer slices to airtight containers.
Freezing
If you want to extend the cheesecake’s life, you can freeze it—just skip adding the ganache and Butterfinger topping until after thawing for the best texture. Wrap the whole cheesecake (or individual slices) tightly in plastic wrap and foil before freezing for up to two months. Thaw overnight in the refrigerator, add your ganache and chopped Butterfingers, and it’s ready to dazzle again!
Reheating
Cheesecake is best served chilled, but if you prefer it with a touch of room temperature creaminess, let slices sit out for 20 to 30 minutes before serving. Avoid microwaving, as this can melt the ganache and mess with the texture—but truthfully, it’s hard to beat right from the fridge!
FAQs
Can I use a different candy bar instead of Butterfinger?
Absolutely! While Butterfinger Cheesecake is a classic for a reason, feel free to experiment with other chocolate-caramel or peanut butter bars. Just keep in mind that the flavor and crunch may vary, so the end result will be a fun surprise.
How do I prevent my cheesecake from cracking?
For a crack-free top, avoid over-mixing your batter, use room temperature ingredients, and always let the cheesecake cool gradually in the oven before chilling. A water bath isn’t strictly necessary here, but it can add extra insurance if you’re especially cautious.
Can I make Butterfinger Cheesecake ahead of time?
Yes! This Butterfinger Cheesecake is the perfect make-ahead dessert. Prepare and bake it up to two days before you plan to serve. Just add the chocolate ganache and garnish on the day you’re serving for the freshest look.
How do I get clean slices?
For bakery-worthy slices, use a sharp knife dipped in hot water, wiping clean between cuts. This melts right through the ganache and cheese layers, giving you picture-perfect portions every time.
Is this recipe gluten-free?
As written, Butterfinger Cheesecake uses graham cracker crumbs, which typically contain gluten. However, you can easily substitute gluten-free graham crackers in the crust and double-check your Butterfinger bars to make this treat safe for gluten-free guests.
Final Thoughts
If you’re searching for a dessert that delights candy lovers and cheesecake fans alike, this Butterfinger Cheesecake absolutely delivers. Each bite is loaded with crunchy candy bits, silky filling, and that luscious chocolate finish. Go ahead, gather your ingredients, and treat yourself (and your lucky friends) to something truly spectacular—you’ll be dreaming about the next slice before you even finish the first!
Print
Butterfinger Cheesecake Recipe
- Total Time: 6 hours
- Yield: 12 servings 1x
- Diet: Non-Vegetarian
Description
Indulge in the decadent and rich flavor of Butterfinger Cheesecake, a delightful dessert that combines creamy cheesecake with crunchy candy bar pieces. This recipe is sure to impress your guests and satisfy any sweet tooth.
Ingredients
Graham Cracker Crust:
- 1 ½ cups graham cracker crumbs
- ¼ cup granulated sugar
- 6 tablespoons unsalted butter, melted
Cheesecake Filling:
- 3 (8 oz) packages cream cheese, softened
- 1 cup granulated sugar
- ¾ cup sour cream
- 3 large eggs
- 1 teaspoon vanilla extract
- 1 ½ cups chopped Butterfinger candy bars, divided
Chocolate Topping:
- ½ cup heavy cream
- ¾ cup semi-sweet chocolate chips
Instructions
- Graham Cracker Crust: Preheat oven to 325°F. Combine graham cracker crumbs, sugar, and melted butter. Press into a springform pan and bake for 10 minutes.
- Cheesecake Filling: Beat cream cheese and sugar until smooth. Add sour cream, eggs, and vanilla. Fold in 1 cup of Butterfinger pieces. Pour into crust and bake for 55-65 minutes. Cool and refrigerate.
- Chocolate Topping: Heat cream, pour over chocolate chips. Spread over cheesecake and top with remaining Butterfinger pieces. Refrigerate until serving.
Notes
- For clean slices, run a sharp knife under hot water between cuts.
- Cheesecake can be made 1–2 days in advance.
- To intensify the Butterfinger flavor, use finely crushed pieces in the filling.
- Prep Time: 25 minutes
- Cook Time: 1 hour 5 minutes
- Category: Dessert
- Method: Baking
- Cuisine: American
Nutrition
- Serving Size: 1 slice
- Calories: 520
- Sugar: 35 g
- Sodium: 310 mg
- Fat: 35 g
- Saturated Fat: 20 g
- Unsaturated Fat: 12 g
- Trans Fat: 0 g
- Carbohydrates: 45 g
- Fiber: 1 g
- Protein: 7 g
- Cholesterol: 115 mg