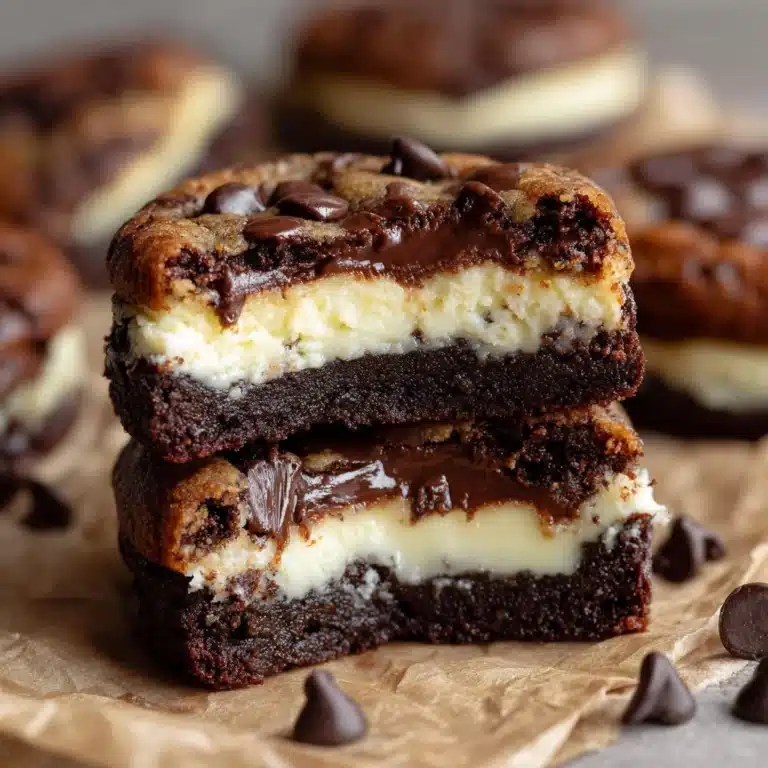
Chocolate Brownie Cookies Recipe
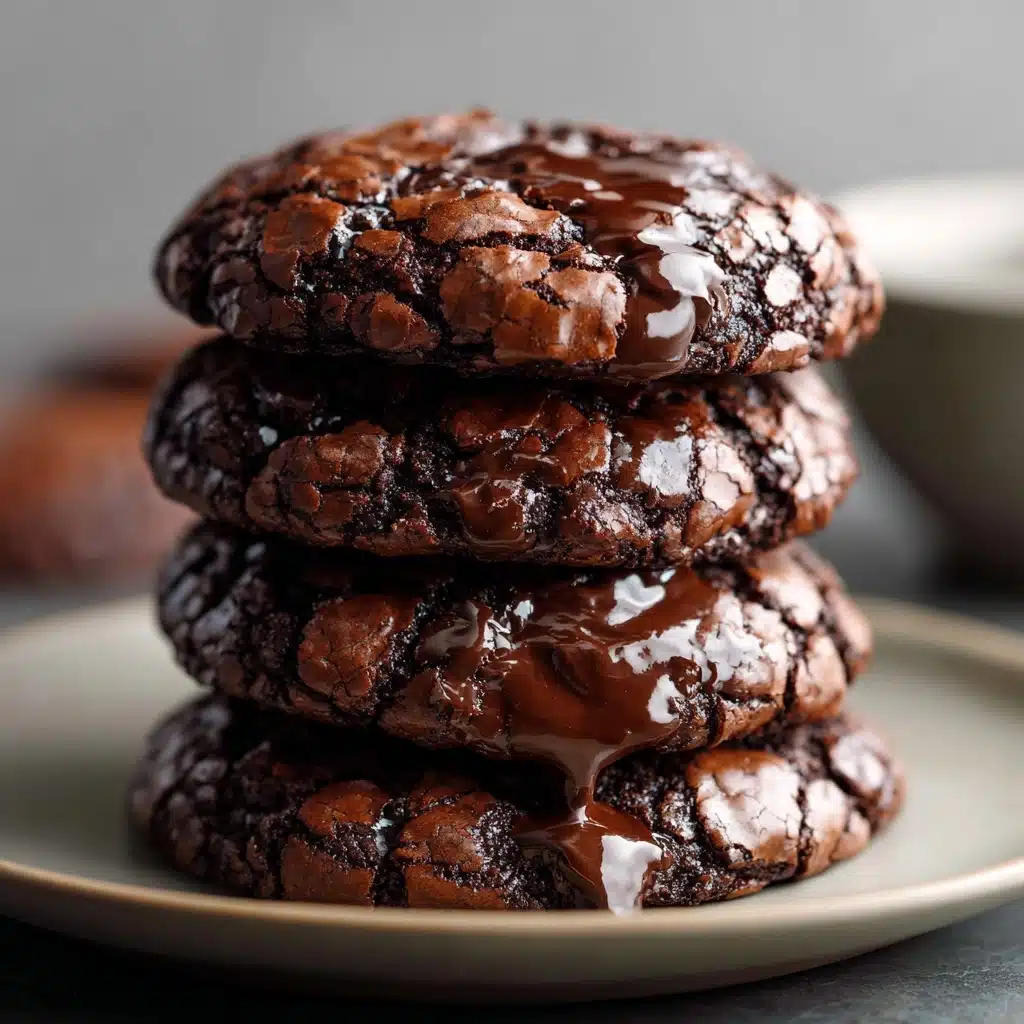
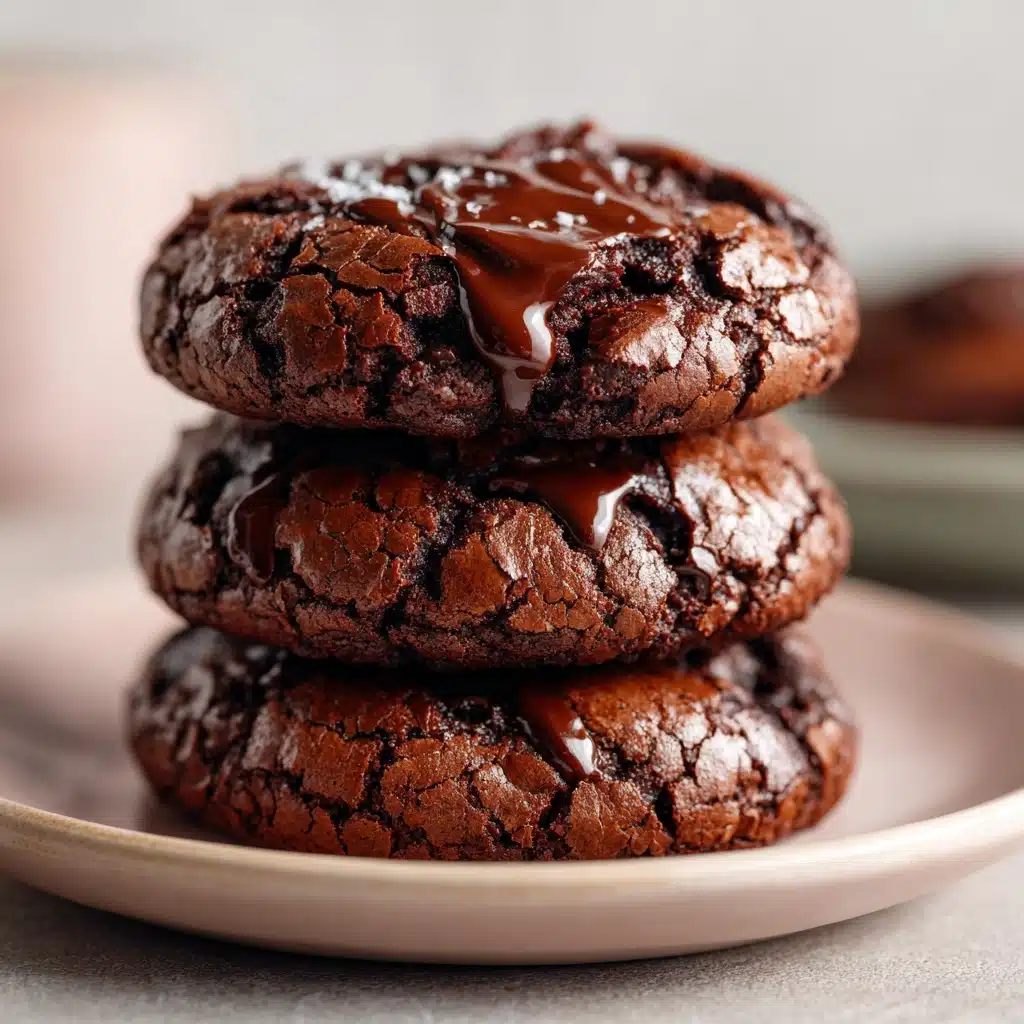
If you’re ready for a treat that’s as fudgy and decadent as your favorite brownies but shaped for grabbing and sharing, then Chocolate Brownie Cookies are your new best friend. Imagine biting into a cookie that’s crisp at the edges with a gooey, rich center, layered with pools of melted chocolate and a hint of flaky sea salt on top. These cookies are my go-to whenever I want to wow a crowd, or just treat myself to something utterly dreamy—trust me, once you’ve made a batch, you’ll want to bake them on repeat!
Ingredients You’ll Need
The beauty of Chocolate Brownie Cookies is that they require just a handful of staple ingredients, each playing a crucial role in creating that classic brownie-meets-cookie character. Let’s break down what you’ll need and why it matters for your ultimate chocolatey experience:
- Unsalted butter: Adds richness and moisture, giving the cookies a melt-in-your-mouth texture.
- Semisweet chocolate chips: Use divided amounts—some get melted for gooeyness, others stay whole for those irresistible little chocolate pockets.
- Large eggs: These bind everything together and add to the cookies’ fudgy center.
- Granulated sugar: Brings that classic sweetness and encourages those shiny, crackly tops.
- Packed brown sugar: Adds a touch of warmth and chewiness thanks to the molasses content.
- Vanilla extract: Rounds out and enhances the deep chocolate flavor.
- All-purpose flour: Just enough to hold the cookies together without making them cakey.
- Unsweetened cocoa powder: Intensifies the chocolate profile—don’t skip this for genuine brownie vibes!
- Baking powder: Lends a bit of lift, ensuring the cookies are soft inside, never dense.
- Salt: Essential for balance—it wakes up every other flavor.
- Flaky sea salt (optional): A sprinkle on top gives a gorgeous finish and an irresistible sweet-salty hit.
How to Make Chocolate Brownie Cookies
Step 1: Prep Your Baking Gear
Start by preheating your oven to 350°F (175°C) and lining a baking sheet with parchment paper. This helps prevent sticking and guarantees those soft, chewy bottoms (plus, cleanup is a breeze!).
Step 2: Melt the Butter and Chocolate
Grab a microwave-safe bowl and combine the butter with 1 cup of chocolate chips. Microwave in 20–30 second bursts, stirring after each, until everything is beautifully melted and smooth. Give it a minute to cool slightly—this keeps your eggs from scrambling in the next step.
Step 3: Whisk Eggs and Sugars Together
In a large bowl, whisk your eggs, granulated sugar, brown sugar, and vanilla extract until the mixture turns pale and frothy, about two minutes. This key step helps create those classic brownie cookie tops and a light, luscious texture.
Step 4: Combine the Wet and Melted Chocolate Mixtures
Slowly pour your cooled chocolate mixture into the egg mixture, and gently stir until no streaks remain. Take your time here—this creates the rich, fudgy foundation of the cookie.
Step 5: Mix Dry Ingredients Separately
In a second bowl, whisk together the flour, unsweetened cocoa powder, baking powder, and salt. This not only evenly distributes the leavening and cocoa but ensures there are no lumps in your batter.
Step 6: Bring the Dough Together
Add your dry ingredients to the wet chocolate mixture and stir gently until just combined. Fold in the remaining 1/2 cup of chocolate chips for that bakery-style pocket of melted chocolate in every bite. For extra thick cookies, feel free to chill the dough for 20–30 minutes.
Step 7: Bake!
Scoop tablespoon-sized heaps of dough onto your lined tray, setting each about two inches apart. Sprinkle a pinch of flaky sea salt on each one if you like. Bake for 10–12 minutes, just until the edges are set but the centers remain a bit soft and fudgy.
Step 8: Cool and Enjoy
Let the cookies cool right on the baking sheet for five minutes to set up (don’t skip this—they’ll be fragile when hot!), then transfer to a wire rack. Now—try to resist eating all the Chocolate Brownie Cookies before they cool completely!
How to Serve Chocolate Brownie Cookies
Garnishes
My favorite finishing touch for Chocolate Brownie Cookies is an extra pinch of flaky sea salt on top just after baking—it melts in slightly and gives each bite a delicious contrast. You can also dust them with a tiny cloud of powdered sugar or drizzle with melted chocolate for a decadent flair.
Side Dishes
There’s just something special about pairing warm Chocolate Brownie Cookies with a tall glass of cold milk or a scoop of vanilla bean ice cream. For a fancier occasion, serve alongside fresh berries or a dollop of whipped cream for a simple dessert platter.
Creative Ways to Present
These cookies make a showstopper dessert platter at parties, but you can also turn them into ice cream sandwiches, crumble them over parfaits, or package them in cellophane with a ribbon for sweet homemade gifts. Try stacking them with layers of chocolate ganache for a birthday “cookie cake”!
Make Ahead and Storage
Storing Leftovers
To keep your Chocolate Brownie Cookies soft and fudgy, store them in an airtight container at room temperature for up to five days. Add a slice of sandwich bread to the container if you want to maintain their chewiness, as the bread helps absorb excess air moisture.
Freezing
If you want to save some for later (or just stash away for emergency chocolate cravings), freeze the baked cookies in a single layer on a tray, then transfer to a freezer bag. You can also freeze unbaked dough balls—just add a couple extra minutes to the bake time when cooking from frozen.
Reheating
Revive that just-baked magic by popping your Chocolate Brownie Cookies in a 300°F oven for 2–3 minutes, or microwave for 10-15 seconds. They’ll taste as fresh and melty as the day you made them, with gooey centers and crisp edges intact.
FAQs
How do I get that classic shiny, crinkly top on my Chocolate Brownie Cookies?
The secret is whisking the eggs and both sugars really well until the mixture is light and frothy. This helps form the signature crackly brownie crust as the cookies bake—totally worth the extra two minutes!
Can I use different types of chocolate chips?
Absolutely! Try dark chocolate chips for a more bittersweet bite, or mix in milk chocolate for extra creaminess. Even white chocolate or peanut butter chips can put a fun twist on your Chocolate Brownie Cookies.
Why chill the dough and is it necessary?
Chilling helps the dough firm up so your cookies bake up thicker and chewier. If you love a super fudgy center, chilling is a quick trick, but the recipe works beautifully even if you’re short on time!
Do these cookies work with gluten-free flour?
Yes! Swap in a cup-for-cup gluten-free flour blend and keep everything else the same. The Chocolate Brownie Cookies will still be chewy and delicious, making them perfect for everyone at the table.
Can I make the dough ahead of time?
Absolutely. Simply prepare the dough, cover tightly, and refrigerate for up to 48 hours. Bake straight from the fridge—just add an extra minute or two to your bake time for the perfect consistency.
Final Thoughts
I can’t say enough about the joy these Chocolate Brownie Cookies bring to any day—which is why they’ve become a staple in my kitchen and among my friends. Dive in, experiment with flavors, and savor every bite of their gooey, chocolate-packed goodness. Happy baking!
Print
Chocolate Brownie Cookies Recipe
- Total Time: 27 minutes
- Yield: 18 cookies 1x
- Diet: Vegetarian
Description
Indulge in the rich, fudgy goodness of these Chocolate Brownie Cookies. A perfect blend of brownie and cookie, these treats are sure to satisfy any chocolate craving.
Ingredients
Ingredients:
- 1/2 cup unsalted butter
- 1 1/2 cups semisweet chocolate chips (divided)
- 2 large eggs
- 3/4 cup granulated sugar
- 1/4 cup brown sugar (packed)
- 1 teaspoon vanilla extract
- 1/2 cup all-purpose flour
- 1/4 cup unsweetened cocoa powder
- 1/2 teaspoon baking powder
- 1/4 teaspoon salt
- flaky sea salt for topping (optional)
Instructions
- Preheat the oven: Preheat the oven to 350°F (175°C) and line a baking sheet with parchment paper.
- Melt butter and chocolate: In a microwave-safe bowl, melt the butter with 1 cup of the chocolate chips in 20–30 second intervals, stirring between each until smooth. Let cool slightly.
- Prepare the batter: In a large mixing bowl, whisk the eggs, granulated sugar, brown sugar, and vanilla until light and frothy. Slowly stir in the melted chocolate mixture until fully combined.
- Combine dry ingredients: In a separate bowl, whisk together the flour, cocoa powder, baking powder, and salt. Add the dry ingredients to the wet mixture and stir until just combined. Fold in the remaining 1/2 cup of chocolate chips.
- Bake the cookies: Scoop tablespoon-sized portions of dough onto the prepared baking sheet, spacing about 2 inches apart. Sprinkle with flaky sea salt if desired. Bake for 10–12 minutes, or until the edges are set but the centers are still soft and fudgy. Let cool on the pan for 5 minutes before transferring to a wire rack.
Notes
- Chill the dough for 20–30 minutes for thicker cookies.
- These store well in an airtight container for up to 5 days or can be frozen for up to 3 months.
- Prep Time: 15 minutes
- Cook Time: 12 minutes
- Category: Dessert
- Method: Baking
- Cuisine: American
Nutrition
- Serving Size: 1 cookie
- Calories: 160
- Sugar: 15g
- Sodium: 70mg
- Fat: 9g
- Saturated Fat: 5g
- Unsaturated Fat: 3g
- Trans Fat: 0g
- Carbohydrates: 20g
- Fiber: 1g
- Protein: 2g
- Cholesterol: 25mg