Homemade Granola Bars Recipe
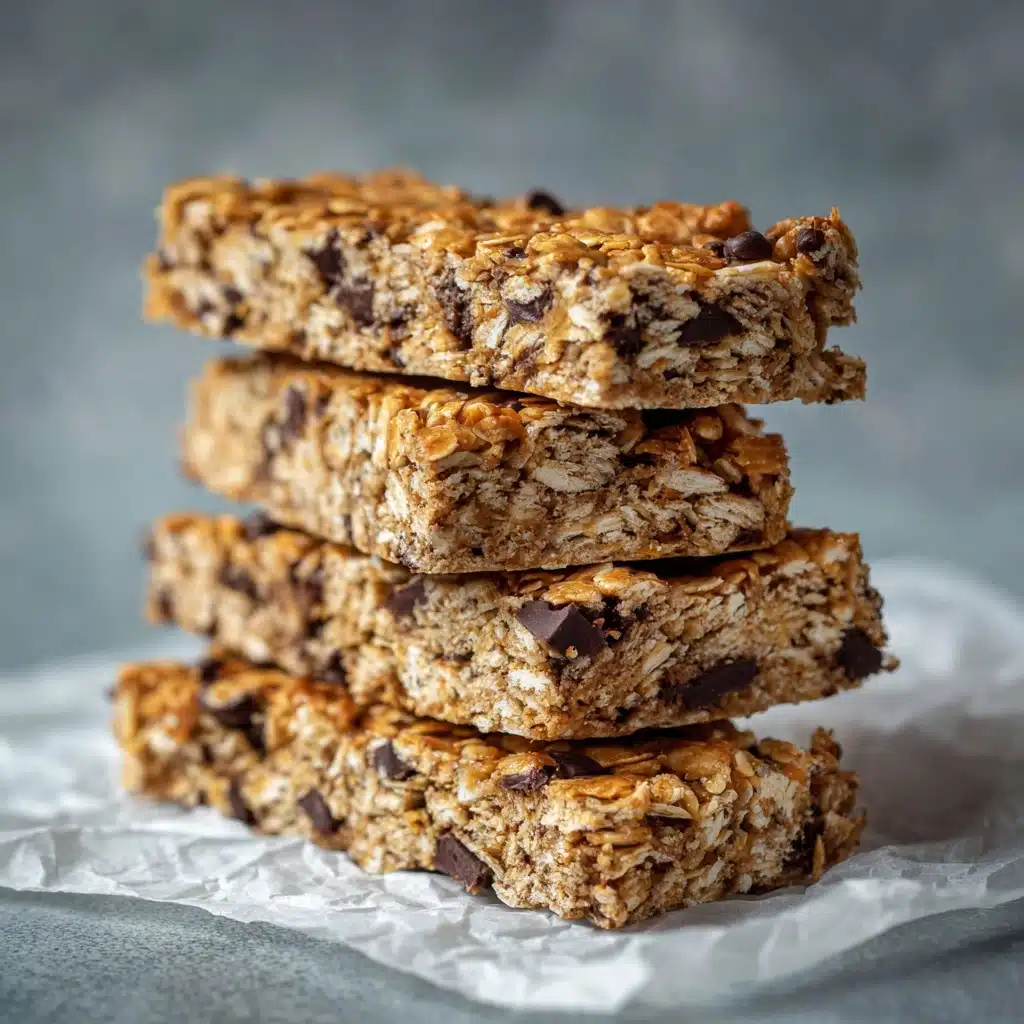
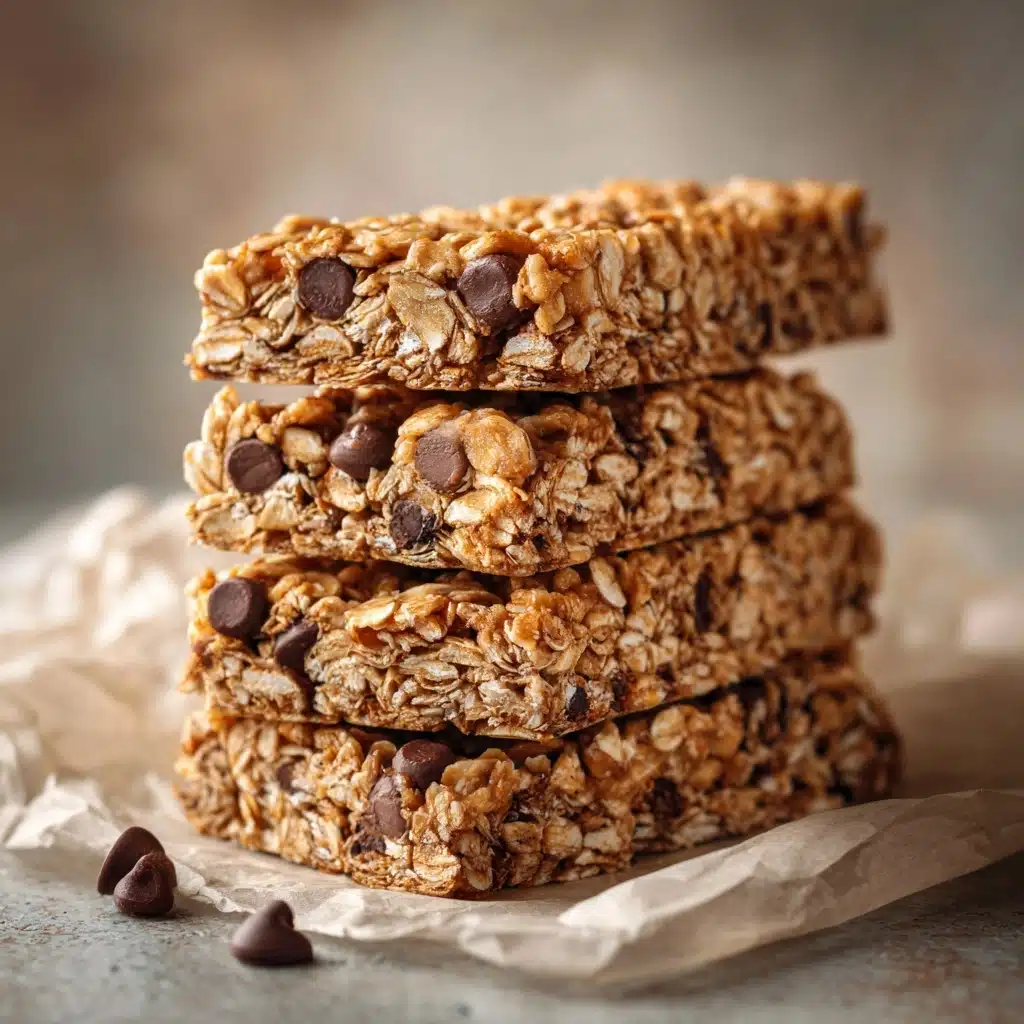
If you’re searching for an irresistibly chewy, perfectly nutty snack you can whip up at home, look no further than Homemade Granola Bars. With just a handful of wholesome ingredients, these bars are packed with crunchy oats, your favorite nuts, a touch of sweetness, and all the possibilities for creative add-ins. They’re the kind of treat you’ll want to make again and again—delicious as a grab-and-go breakfast, an afternoon pick-me-up, or a sweet little post-dinner treat. Trust me, once you’ve tasted freshly made Homemade Granola Bars, you’ll wonder how you ever settled for store-bought.
Ingredients You’ll Need
The magic of these Homemade Granola Bars lies in their simplicity; each ingredient plays a starring role, from the chewy oats to the nutty crunch and sticky-sweet binder. Every element is easy to find and genuinely makes a difference in flavor and texture, so try not to skip anything!
- Old-fashioned rolled oats: The heart of the bars; go for rolled oats for the best chewy texture (quick oats can make everything too crumbly).
- Chopped nuts (almonds, walnuts, or pecans): Nuts add satisfying crunch and a boost of healthy fats; use your favorites, or a mix for depth.
- Honey or maple syrup: The sweet glue that holds everything together—honey lends a floral note, while maple brings extra warmth.
- Nut butter (peanut, almond, or cashew): Nut butter gives these bars richness and a creamy mouthfeel; pick whichever you love most.
- Brown sugar (optional): For those who want a touch more sweetness and a slight caramel flavor—feel free to skip if you prefer less sugar.
- Vanilla extract: Just a splash elevates all the flavors and makes your kitchen smell incredible.
- Salt: A little bit goes a long way to enhance all the sweet and nutty notes.
- Dried fruit (raisins, cranberries, or chopped apricots): These bring chewiness, tang, and bursts of color—choose any combination you like.
- Mini chocolate chips (optional): A handful of these turns your Homemade Granola Bars into a real treat; add them for a little decadent flair.
How to Make Homemade Granola Bars
Step 1: Prepare Your Pan
Start by lining an 8×8-inch or 9×9-inch pan with parchment paper, leaving a generous overhang on two sides. This handy trick will help you lift out the finished bars in one piece for easy slicing later. Trust me, it makes cleanup a breeze and keeps your Homemade Granola Bars looking flawless.
Step 2: Toast the Oats and Nuts
Preheat your oven to 350°F (175°C). In a large bowl, combine the oats and chopped nuts, spread them out on a baking sheet, and slide them into the oven. Toast for 8 to 10 minutes, giving everything a stir halfway through to ensure even browning. This simple step deepens the flavor of your bars and makes your whole kitchen smell gloriously nutty.
Step 3: Warm the Wet Ingredients
While your oat mixture is toasting, grab a small saucepan and combine the honey or maple syrup, nut butter, brown sugar (if using), vanilla extract, and salt. Stir gently over low heat, just until everything is melted together and smooth. Warming these ingredients helps them blend and makes it easier to coat every oat and nut evenly.
Step 4: Combine and Coat
Return the toasted oats and nuts to your mixing bowl. Pour that luscious warm syrup right on top, and stir everything together thoroughly—make sure every piece gets coated! Next, fold in the dried fruit and, if you fancy, a scatter of mini chocolate chips. Pro tip: If you like your chips whole, let the mixture cool a few minutes before stirring them in so they don’t melt.
Step 5: Press and Chill
Spoon the mixture into your lined pan, and here’s the key—press it down very firmly. Use a piece of parchment paper or the back of a measuring cup to really compact the mixture. This extra pressure is what keeps your Homemade Granola Bars from crumbling. Pop the pan in the fridge for at least an hour (or as long as you can stand to wait) until everything is set and ready for slicing.
Step 6: Slice and Enjoy
Once firm, use the overhanging parchment to lift the block out of the pan. Place on a cutting board and use a sharp knife to cut your bars to the perfect size. That’s it—you’ve got a batch of delicious Homemade Granola Bars just waiting to be enjoyed!
How to Serve Homemade Granola Bars
Garnishes
Presentation can make these bars feel extra special—try a sprinkle of flaky sea salt over the top right before chilling to balance the sweetness. For a bakery-worthy finish, drizzle melted chocolate or a touch of honey over the sliced Homemade Granola Bars just before serving. If you want to go all out, press a few extra dried fruit pieces or chopped nuts onto the tops while the mixture is still sticky.
Side Dishes
While Homemade Granola Bars are totally satisfying on their own, they pair beautifully with a cold glass of milk, a creamy yogurt parfait, or a selection of fresh fruit. For a light lunch, consider packing them alongside a hardboiled egg and some crisp apple slices—the sweet and savory combo is a game-changer.
Creative Ways to Present
For easy grab-and-go snacking, wrap individual bars in parchment and tie them with twine—picnic perfect! Planning a brunch or breakfast buffet? Try layering broken bars into yogurt parfaits with berries and a swirl of honey. And if you’re feeling extra festive, stack a few on a tray with ribbons of parchment between for a charming edible gift or party favor.
Make Ahead and Storage
Storing Leftovers
Keep your Homemade Granola Bars at their best by popping them into an airtight container. They’ll stay perfectly chewy for up to five days at room temperature, making them a convenient snack all week long. For extra longevity or an especially warm kitchen, stash the container in the fridge, where they’ll last up to two weeks—if you don’t eat them all first!
Freezing
Yes, these bars freeze beautifully. Lay them flat in a freezer-safe bag or container, with parchment between layers, to prevent sticking. They’ll last two to three months in the freezer. When ready to eat, just pull one out and let it thaw on the counter for 20 to 30 minutes, or pop it straight into a lunchbox where it’ll thaw by snacktime.
Reheating
While Homemade Granola Bars don’t really need reheating, you can soften a chilled bar by microwaving it for 5 to 10 seconds. This little trick freshens up the texture and brings back that just-made warmth, melting the chocolate chips a bit for extra indulgence.
FAQs
Can I make Homemade Granola Bars gluten-free?
Absolutely! Just use certified gluten-free rolled oats, and double-check that your mix-ins (including chocolate chips and dried fruit) don’t contain hidden gluten. This simple swap means everyone can enjoy these bars, no matter their dietary restrictions.
What can I use instead of nut butter?
If nuts are off the table, try sunflower seed butter or tahini as a delicious and allergy-friendly alternative. Both work well as a binder, adding great flavor and creamy texture to your bars.
Why are my granola bars falling apart?
Packing the mixture firmly into the pan is key! Make sure to press down with purpose, and don’t skip the chilling time, as it helps everything bind together. If you reduced the syrup or nut butter too much, the bars may be a bit crumbly.
Can I reduce the sugar for a less sweet bar?
Definitely! The brown sugar is optional, and you can also cut back a little on the honey or maple syrup, though the bars may be a bit softer and slightly more fragile. Taste the mixture as you go and adjust to your preference.
What mix-ins work best for Homemade Granola Bars?
The sky’s the limit here! Try pumpkin seeds, coconut flakes, chia seeds, chopped pretzels, or dried cherries for endless combinations. Just keep the total amount of mix-ins about the same so the bars hold together well.
Final Thoughts
I hope you’re as excited as I am to dive into making your own Homemade Granola Bars. This simple recipe invites endless personalization and almost guarantees you’ll become the go-to snack master among your friends and family. Give it a try—you just might start a new kitchen tradition!
Print
Homemade Granola Bars Recipe
- Total Time: 25 minutes (plus chilling time)
- Yield: 12 bars 1x
- Diet: Vegetarian
Description
Learn how to make delicious and nutritious Homemade Granola Bars with this easy recipe. These chewy bars are packed with oats, nuts, dried fruit, and a hint of chocolate, making them a perfect snack for any time of day.
Ingredients
For the Granola Bars:
- 2 1/2 cups old-fashioned rolled oats
- 1/2 cup chopped nuts (almonds, walnuts, or pecans)
- 1/2 cup honey or maple syrup
- 1/3 cup nut butter (peanut, almond, or cashew)
- 1/4 cup brown sugar (optional, for extra sweetness)
- 1/2 teaspoon vanilla extract
- 1/4 teaspoon salt
- 1/2 cup dried fruit (raisins, cranberries, or chopped apricots)
- 1/4 cup mini chocolate chips (optional)
Instructions
- Preheat the Oven: Preheat the oven to 350°F (175°C) and line a baking pan with parchment paper.
- Prepare the Oat Mixture: In a bowl, mix oats and nuts, then toast in the oven.
- Mix the Sweeteners: Combine honey, nut butter, sugar, vanilla, and salt in a saucepan until warm.
- Combine Ingredients: Pour the sweet mixture over oats, add dried fruit and chocolate chips, then mix.
- Form Bars: Press the mixture into the pan, chill until set, then slice into bars.
Notes
- Press the mixture firmly into the pan for better results.
- Store the bars in an airtight container for optimal freshness.
- Prep Time: 15 minutes
- Cook Time: 10 minutes
- Category: Snack
- Method: No-Bake (with optional toasting)
- Cuisine: American
Nutrition
- Serving Size: 1 bar
- Calories: 210
- Sugar: 12 g
- Sodium: 70 mg
- Fat: 10 g
- Saturated Fat: 2 g
- Unsaturated Fat: 7 g
- Trans Fat: 0 g
- Carbohydrates: 27 g
- Fiber: 3 g
- Protein: 5 g
- Cholesterol: 0 mg