No Bake Chocolate Pudding Pie Recipe
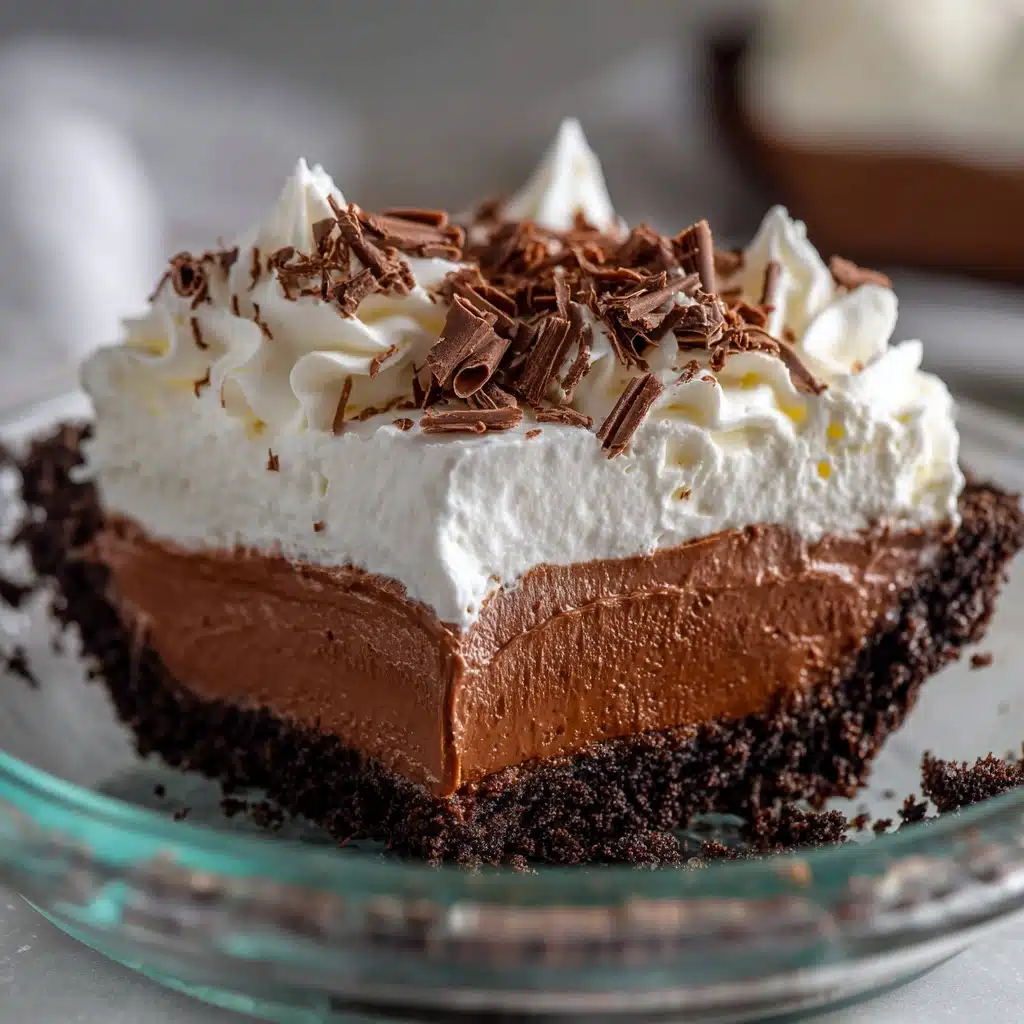
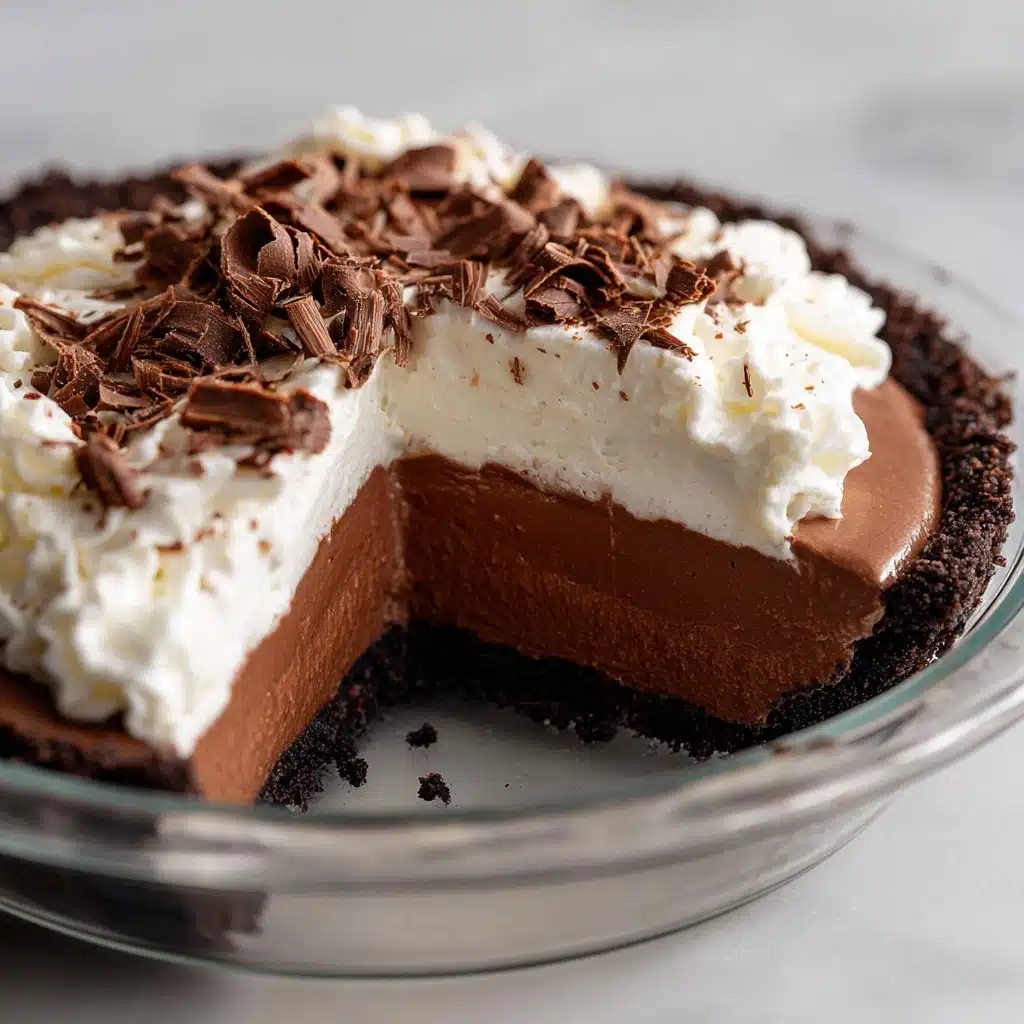
If you’re craving a decadent dessert that comes together in a snap, look no further than this No Bake Chocolate Pudding Pie. With its creamy, dreamy chocolate filling nestled inside a buttery graham cracker crust and crowned with fluffy whipped topping, this pie brings back all the nostalgia of childhood treats, minus the oven time. Perfect for parties, potlucks, or just a Tuesday night splurge, it’s a crowd-pleaser you’ll return to again and again.
Ingredients You’ll Need
-
Graham Cracker Crust:
- 1 pre-made graham cracker crust (9-inch)
Chocolate Pudding Filling:
- 1 (3.9 oz) box instant chocolate pudding mix
- 1 1/2 cups cold milk
- 1 cup whipped topping (like Cool Whip)
- 1/2 teaspoon vanilla extract
Topping:
- 1 cup additional whipped topping
- Chocolate shavings or curls for garnish (optional)
How to Make No Bake Chocolate Pudding Pie
Step 1: Prepare the Pudding Filling
In a medium mixing bowl, whisk together the instant chocolate pudding mix and cold milk for about two minutes. You’re aiming for a mixture that’s thick, smooth, and free of any lumps—it will begin to set quickly, so don’t wait too long before moving to the next step.
Step 2: Add Creaminess and Flavor
Stir in the vanilla extract and 1 cup of whipped topping. This extra addition of whipped topping makes the filling incredibly airy and luscious, transforming basic pudding into a mousse-like cloud of chocolate.
Step 3: Assemble the Pie
Pour that gorgeous pudding mixture into your graham cracker crust and smooth the top with a spatula. Take a moment here—it feels like you’re icing a chocolate cake, but faster and easier!
Step 4: Chill Until Set
Pop your pie into the refrigerator and let it chill for at least three hours. This vital step is where all the magic happens: the filling becomes firm, sliceable, and irresistibly silky.
Step 5: Add Toppings and Serve
Right before you’re ready to serve, mound the remaining whipped topping over the pie, spreading it with swoops and swirls. If you really want to impress, sprinkle chocolate shavings or curls on top for the ultimate finishing touch. Slice chilled and enjoy!
How to Serve No Bake Chocolate Pudding Pie
Garnishes
This dessert practically begs for a dazzling finish. Chocolate shavings, curls, or even a light dusting of cocoa powder elevate every slice visually and add an extra hit of chocolate flavor. For a pop of color, consider a few fresh raspberries or strawberries on the side.
Side Dishes
Keep it simple with a cold glass of milk or a cup of strong coffee—each pairs beautifully with a slice of No Bake Chocolate Pudding Pie. If you’re serving this at a picnic or party, add a small scoop of vanilla bean ice cream for an extra-indulgent treat.
Creative Ways to Present
Try individual mini pies in small jars or dessert glasses for a fun twist. Or create a pie sundae bar: slice the pie, then set out toppings like crushed cookies, nuts, whipped cream, and fruit, letting everyone customize their own plateful of chocolate bliss.
Make Ahead and Storage
Storing Leftovers
Cover any remaining No Bake Chocolate Pudding Pie with plastic wrap or store in an airtight container in the refrigerator. It’ll stay fresh and delicious for up to 4 days, making it a fantastic make-ahead option for busy weeks or gatherings.
Freezing
You can easily freeze leftover pie for later enjoyment. Simply wrap tightly in plastic wrap and a layer of foil, then freeze for up to 1 month. For best results, freeze without the whipped topping and add it fresh after thawing.
Reheating
This pie is best enjoyed cold, straight from the fridge. If you’ve frozen it, thaw overnight in the refrigerator before serving—no reheating necessary! The texture and flavor remain glorious even after a stint in the freezer.
FAQs
Can I make No Bake Chocolate Pudding Pie ahead of time?
Definitely! In fact, this pie actually benefits from a longer chill, so prepare it the day before serving for the easiest dessert ever.
What type Dessert
While whole milk gives the richest, creamiest results, you can also use 2% or even non-dairy alternatives—just note that non-dairy milk may make the filling slightly less thick.
Do I have to use pre-made crust, or can I make my own?
Not at all! Feel free to use a homemade graham cracker or chocolate cookie crust. Just ensure it’s thoroughly cooled before adding the filling.
Can I use homemade whipped cream instead of store-bought topping?
Absolutely—homemade whipped cream brings a touch of luxury to your No Bake Chocolate Pudding Pie. Just whip heavy cream with a little sugar until soft peaks form, and use it as a 1:1 swap for the whipped topping.
How do I keep the pie from becoming soggy?
To avoid a soggy crust, store your pie chilled and serve within a couple days of assembling. If making further ahead, keep the crust and filling separate, assembling just a few hours before serving.
Final Thoughts
I can’t wait for you to try this No Bake Chocolate Pudding Pie—it’s the kind of treat that turns any day into something special, and it’s just so easy you’ll find yourself making it on repeat. Gather your loved ones, grab a few simple ingredients, and indulge in a slice of chocolate bliss that’s every bit as wonderful as it looks!
Print
No Bake Chocolate Pudding Pie Recipe
- Total Time: 10 minutes (plus 3 hours chilling)
- Yield: 8 servings 1x
- Diet: Non-Vegetarian
Description
Indulge in this creamy and decadent No Bake Chocolate Pudding Pie that’s a breeze to make. A perfect dessert for any occasion!
Ingredients
Graham Cracker Crust:
- 1 pre-made graham cracker crust (9-inch)
Chocolate Pudding Filling:
- 1 (3.9 oz) box instant chocolate pudding mix
- 1 1/2 cups cold milk
- 1 cup whipped topping (like Cool Whip)
- 1/2 teaspoon vanilla extract
Topping:
- 1 cup additional whipped topping
- Chocolate shavings or curls for garnish (optional)
Instructions
- Prepare Chocolate Pudding Filling: In a medium mixing bowl, whisk together instant chocolate pudding mix and cold milk until thickened. Stir in vanilla extract and 1 cup of whipped topping until smooth.
- Assemble Pie: Pour the pudding mixture into the graham cracker crust, smooth the top, and refrigerate for at least 3 hours or until set.
- Finish and Serve: Before serving, top with remaining whipped topping and garnish with chocolate shavings. Slice and enjoy chilled.
Notes
- Use a chocolate cookie crust for a richer flavor.
- You can make homemade whipped cream instead of using store-bought.
- Keep the pie refrigerated until serving.
- Prep Time: 10 minutes
- Cook Time: 0 minutes
- Category: Dessert
- Method: No-Cook
- Cuisine: American
Nutrition
- Serving Size: 1 slice
- Calories: 270
- Sugar: 18g
- Sodium: 320mg
- Fat: 14g
- Saturated Fat: 7g
- Unsaturated Fat: 6g
- Trans Fat: 0g
- Carbohydrates: 34g
- Fiber: 1g
- Protein: 3g
- Cholesterol: 5mg